FlowHome may earn from qualifying Amazon purchases. Recommendations focus on intended use, documented requirements, and explicit limitations.

Best of FlowHome

Alexa Smart Home Buying Guide: Devices and Setup Checks

An Alexa-oriented shortlist with model, wiring, storage, and account checks before purchase.

This is a documentary shortlist, not a tested ranking or a complete preconfigured kit. Choose the required function first, then confirm the exact device and command in the manufacturer's documentation.

By FlowHome Editorial Team

Published

Evidence basis: data evaluated

Smart Speaker
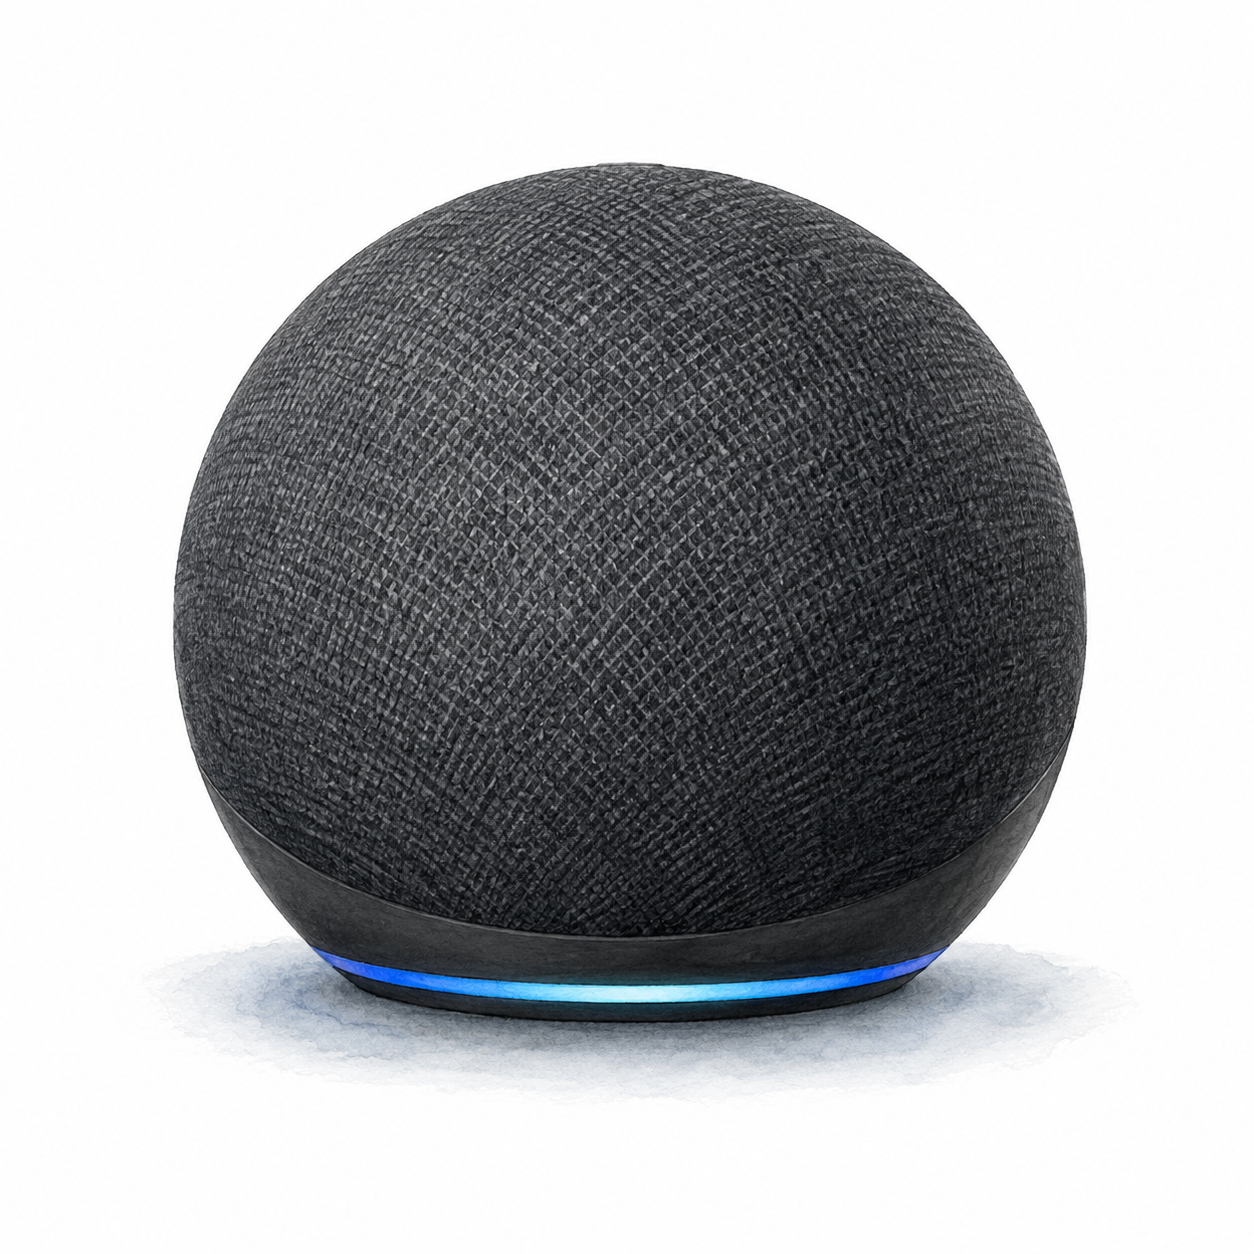
Illustration of the spherical Echo Dot 5th Gen without clock, in charcoal, with a blue light ring at the base; not a product photo

Echo Dot 5th Gen illustration — not a product photo

Amazon

Echo Dot 5th Gen

App-configured smart speaker

Power and app setup

Connect the power adapter, then complete setup in the Alexa app with an Amazon account and Wi-Fi internet.

Setup checks & conditions

Power, Amazon account and Wi-Fi setup are documented; this does not certify a smart-home accessory pairing.

  • Connect the power adapter, then complete setup in the Alexa app with an Amazon account and Wi-Fi internet.
All setup checks & sources
Smart Plug
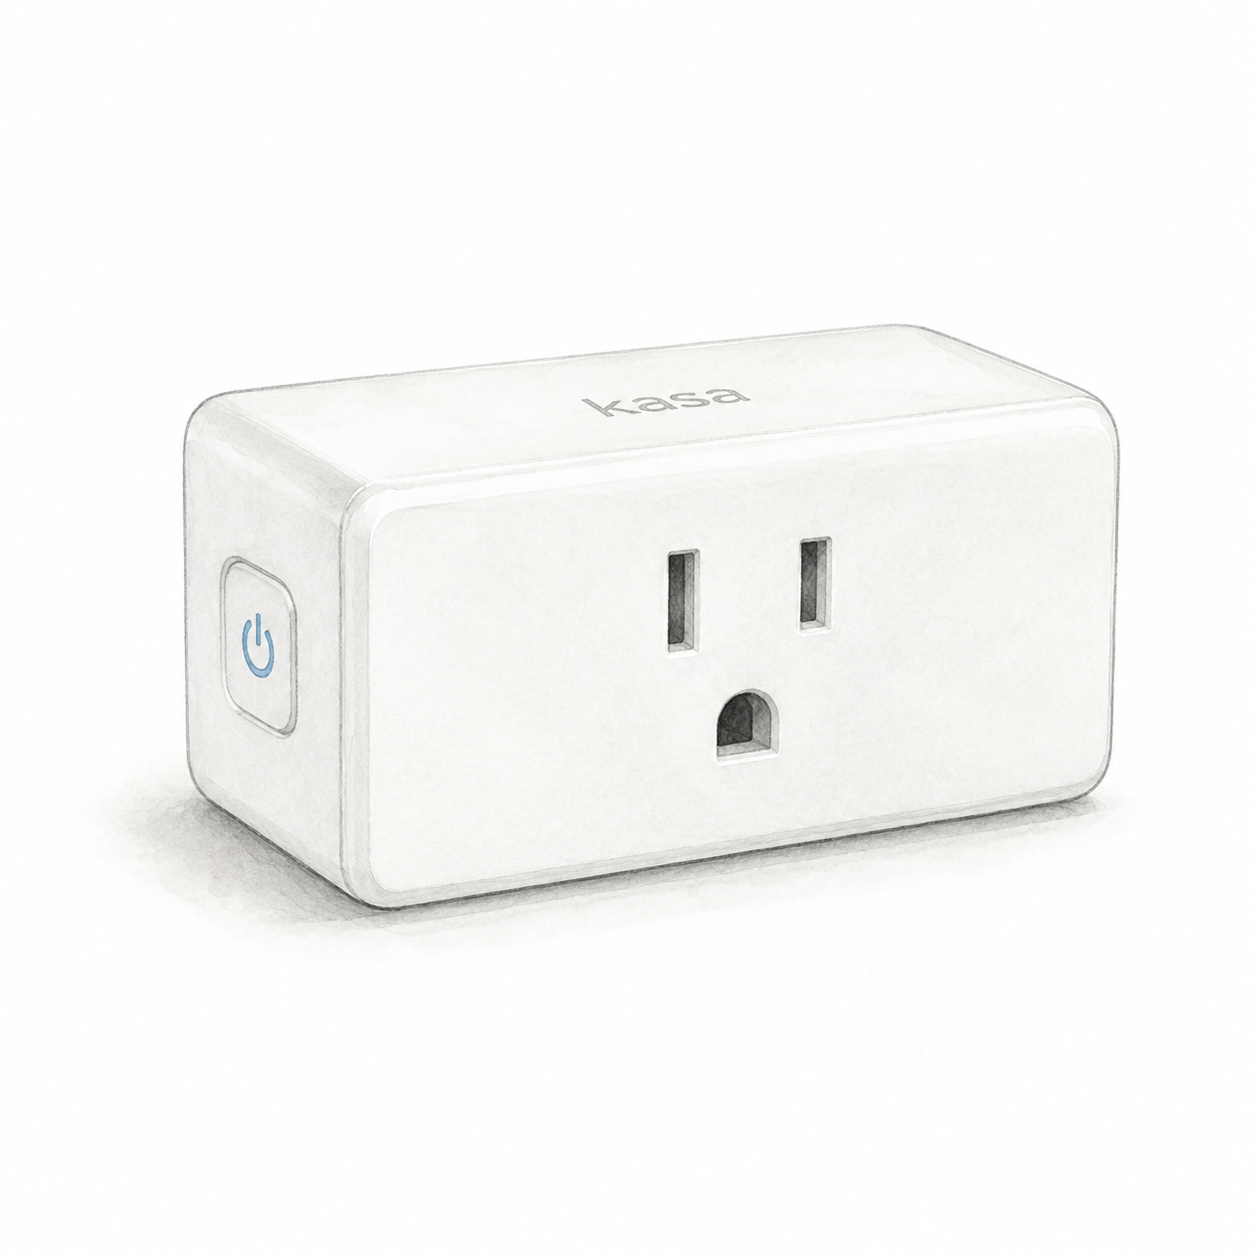
Illustration of one white rectangular Kasa EP10 US smart plug with a grounded front outlet and side button; not a product photo or the complete EP10P2 two-pack

Kasa EP10 illustration — one unit, not a product photo

TP-Link

TP-Link Kasa Smart Plug Mini

Power and app setup

EP10 US needs an indoor 100–120 V AC outlet, away from water, humidity and heat; do not stack adapters. Check appliance-specific load limits: the 15 A / 1800 W general/resistive rating is not a universal appliance limit.

Setup checks & conditions

First setup check

Use a dry indoor outlet and 2.4 GHz Wi-Fi. Check appliance-specific load limits; do not stack plug adapters.

  • For the documented EP10 US, use an accessible indoor outlet, away from water, humidity and heat. Do not stack plug adapters. Check the hardware label against the regional manual; the retail bundle's revision and firmware are not verified.
  • Use 2.4 GHz Wi-Fi and the Kasa Smart app with a TP-Link ID for the documented setup path. A separate hub is not required for that path; follow the app's model-selection instructions.
  • The EP10 US datasheet specifies 100-120 V AC, up to 15 A and 1800 W for general/resistive loads. Those are not universal appliance limits: check the manual's load-specific restrictions and the appliance instructions before connecting it.
All setup checks & sources
Security Camera
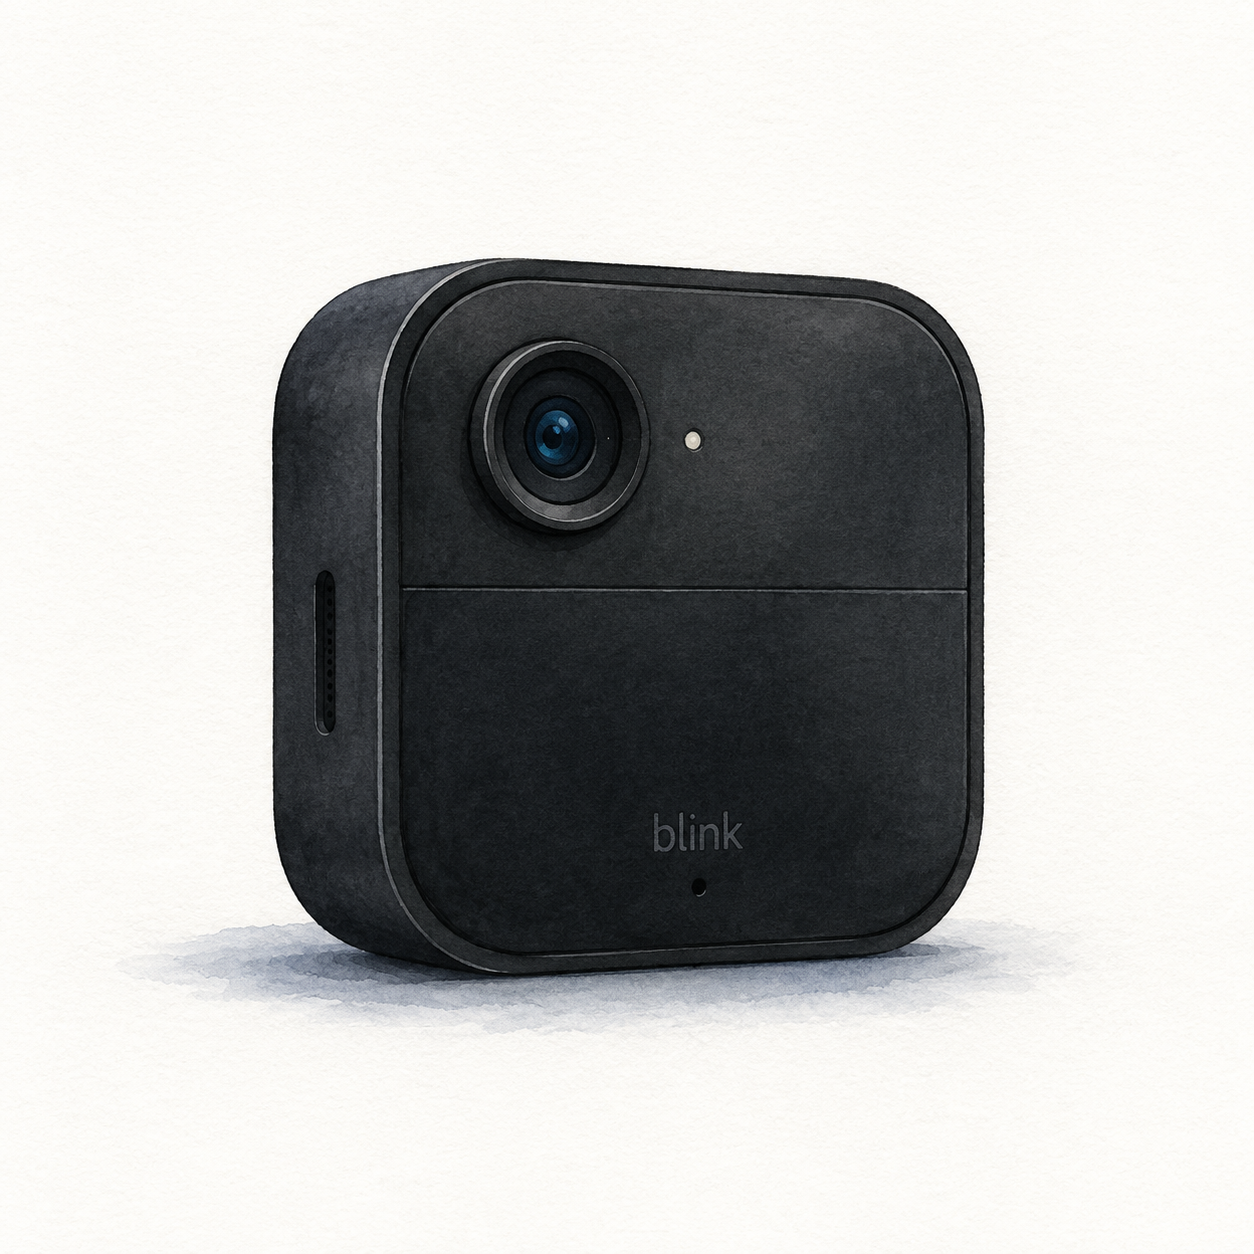
Illustration of one black rounded-square Blink Outdoor 4 with an offset upper lens; not a product photo, required Sync Module, mount and batteries not shown

Blink Outdoor 4 illustration — one camera, not a photo or full kit

Blink

Blink Outdoor 4

Camera requiring a compatible Blink Sync Module

Mounting or guided setup

Needs a Sync Module; check the bundle. Standard battery power uses non-rechargeable AA lithium batteries. Keep the port cover closed unless using Blink's weather-resistant USB-C adapter; an ordinary exposed connection is not equivalent.

Setup checks & conditions

Module inclusion depends on the package and is not verified by this camera-family document.

  • Requires a Blink Sync Module, home Wi-Fi and setup in the Blink app. Check whether the exact camera bundle includes the module or whether you need one separately.
  • The standard battery option uses two AA 1.5 V non-rechargeable lithium batteries. Choose a mounting position and follow Blink's installation instructions.
  • Keep the port cover closed for weather resistance unless using Blink's weather-resistant USB-C power adapter; an ordinary uncovered connection is not equivalent.
  • Local recording needs compatible storage hardware: Sync Module 2 with a USB drive or Sync Module XR with a microSD card. Cloud storage and Person Detection have subscription or trial conditions.
All setup checks & sources
Video Doorbell
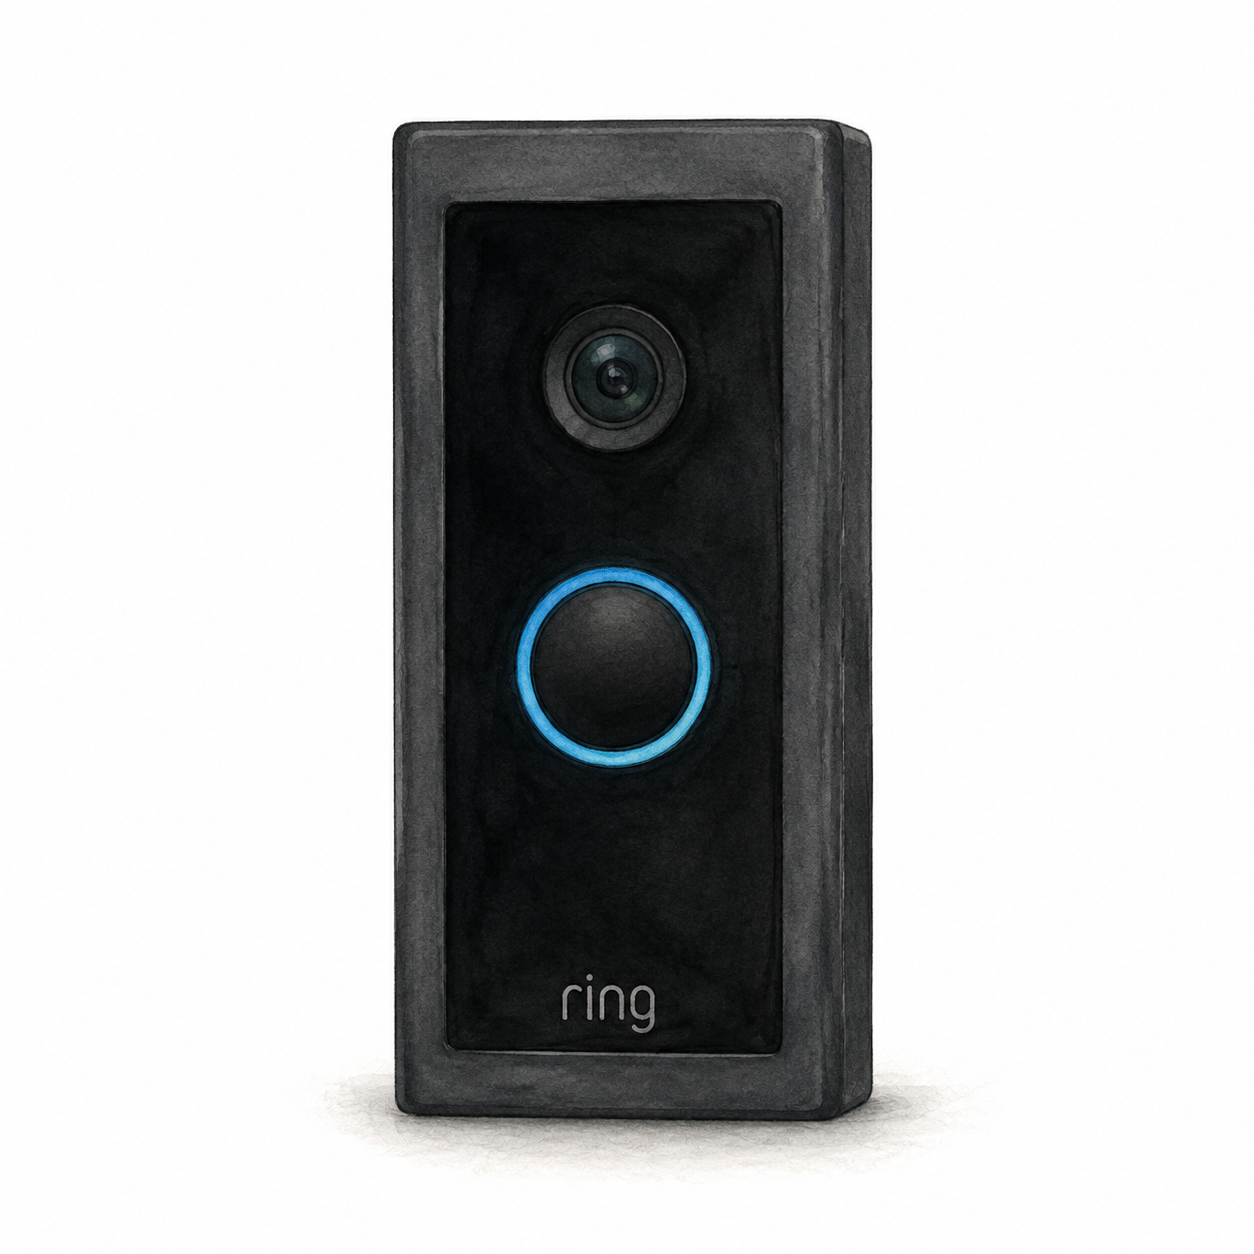
Illustration of the original black Ring Video Doorbell Wired with an upper camera and blue-ringed round button; not a product photo or full installation kit

Ring Video Doorbell Wired illustration — not a product photo

Ring

Ring Video Doorbell Wired

Original wired video doorbell

Wiring or detailed installation checks

Original Wired: verify the specified 10–24 VAC transformer or compatible Ring adapter, not arbitrary DC power. Hardwiring requires breaker isolation and disables the existing chime. Use a licensed electrician if inexperienced or unsure, and follow local requirements.

Setup checks & conditions

First setup check

Original Wired model: verify compatible power before buying. Hardwiring bypasses the existing chime; use a licensed electrician if inexperienced or unsure.

This is not a newer 2K or Pro model. The existing chime and power arrangement require separate checks.

  • Original Video Doorbell Wired: check the transformer and exact regional manual before buying. Ring's US hardwiring guidance specifies 10-24 VAC, 50/60 Hz, 8-40 VA. A compatible Ring Plug-In Adapter is an alternative sold separately; do not assume an arbitrary DC supply is suitable.
  • For hardwiring, disconnect power at the breaker before touching wires. Use a licensed electrician if inexperienced or unsure; local requirements may also require professional installation. With an existing in-home chime, the required jumper bypasses and disables that chime.
  • Plan the mounting surface and cable route, use the supplied mounting and security screws in their designated positions, and follow the Ring app setup. These checks apply to the original Wired model, not newer 2K or Pro models; this is not a step-by-step electrical installation guide.
All setup checks & sources

Smart Thermostat
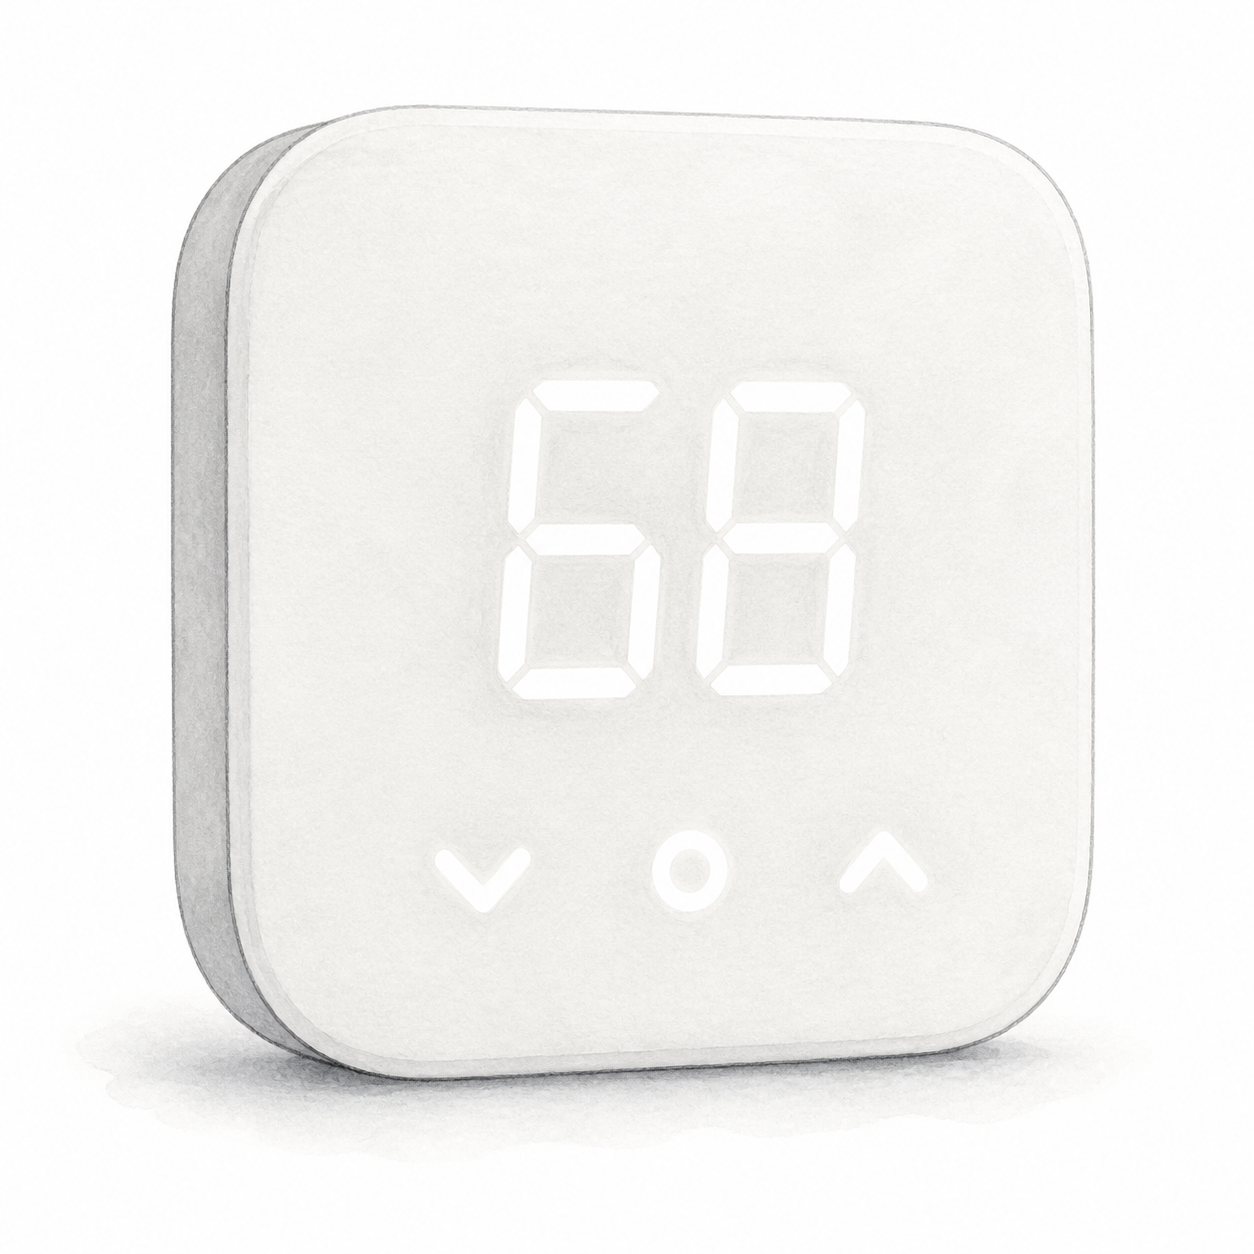
Illustration of the white rounded-square Amazon Smart Thermostat with a sample 68 display and three lower controls; not a product photo or installation kit

Amazon Smart Thermostat illustration — not a product photo

Amazon

Amazon Smart Thermostat

Controller for compatible 24 V HVAC wiring

Wiring or detailed installation checks

Needs compatible 24 V HVAC and a C-wire or compatible adapter; not 120–240 V or millivolt systems. Follow the manual's power-isolation precautions and use a professional if unsure.

Setup checks & conditions

First setup check

Needs compatible 24 V HVAC and a C-wire or compatible adapter; not 120–240 V or millivolt systems. Follow the manual's power-isolation precautions and use a professional if unsure.

Not a line-voltage or millivolt thermostat; power and wiring compatibility must be checked.

  • Requires compatible 24 V HVAC wiring and a C-wire or compatible C-wire power adapter; not for 120–240 V or millivolt systems.
  • Follow the manual's power-isolation precautions and use a professional if you are not comfortable with electrical wiring. Alexa app and 2.4 GHz Wi-Fi setup are also required.
All setup checks & sources

Buying considerations

Editorial methodology and sources

We compare model-specific documentation, setup requirements, intended uses, and stated limitations. The sources and scope are recorded on each page. Commercial data is separate: current prices or customer ratings are not implied by a product recommendation. We do not run controlled lab tests or claim hands-on testing unless that is explicitly documented on the page.

No hands-on test or human review is recorded for this guide. Publication is not a verification date; check the linked product profiles for recorded price and rating dates.

References named in this guide are listed below. Their presence does not mean every claim has been independently reverified.

FlowHome may earn from qualifying purchases through affiliate links. Automation can assist with discovery and maintenance, but it does not replace editorial responsibility.

Read our editorial and corrections policy
Browse smart speaker category →Amazon Smart Thermostat Review: Wiring Checks for Alexa Homes review →Blink Outdoor 4 Review: Wireless Security for Alexa Homes review →Echo Dot 5th Gen Review: Alexa Controls and Matter Requirements review →Ring Video Doorbell Wired Review: Installation and Recording Tradeoffs review →