FlowHome may earn from qualifying Amazon purchases. Recommendations focus on intended use, documented requirements, and explicit limitations.

Find your next smart-home device

Choose for your home.

Explore 28 devices. Understand the setup. Save the ones worth a closer look.

28 products

A–Z · Not a rating-based ranking

Current prices are on Amazon. Setup labels are editorial assessments, not compatibility guarantees.

Smart Hub
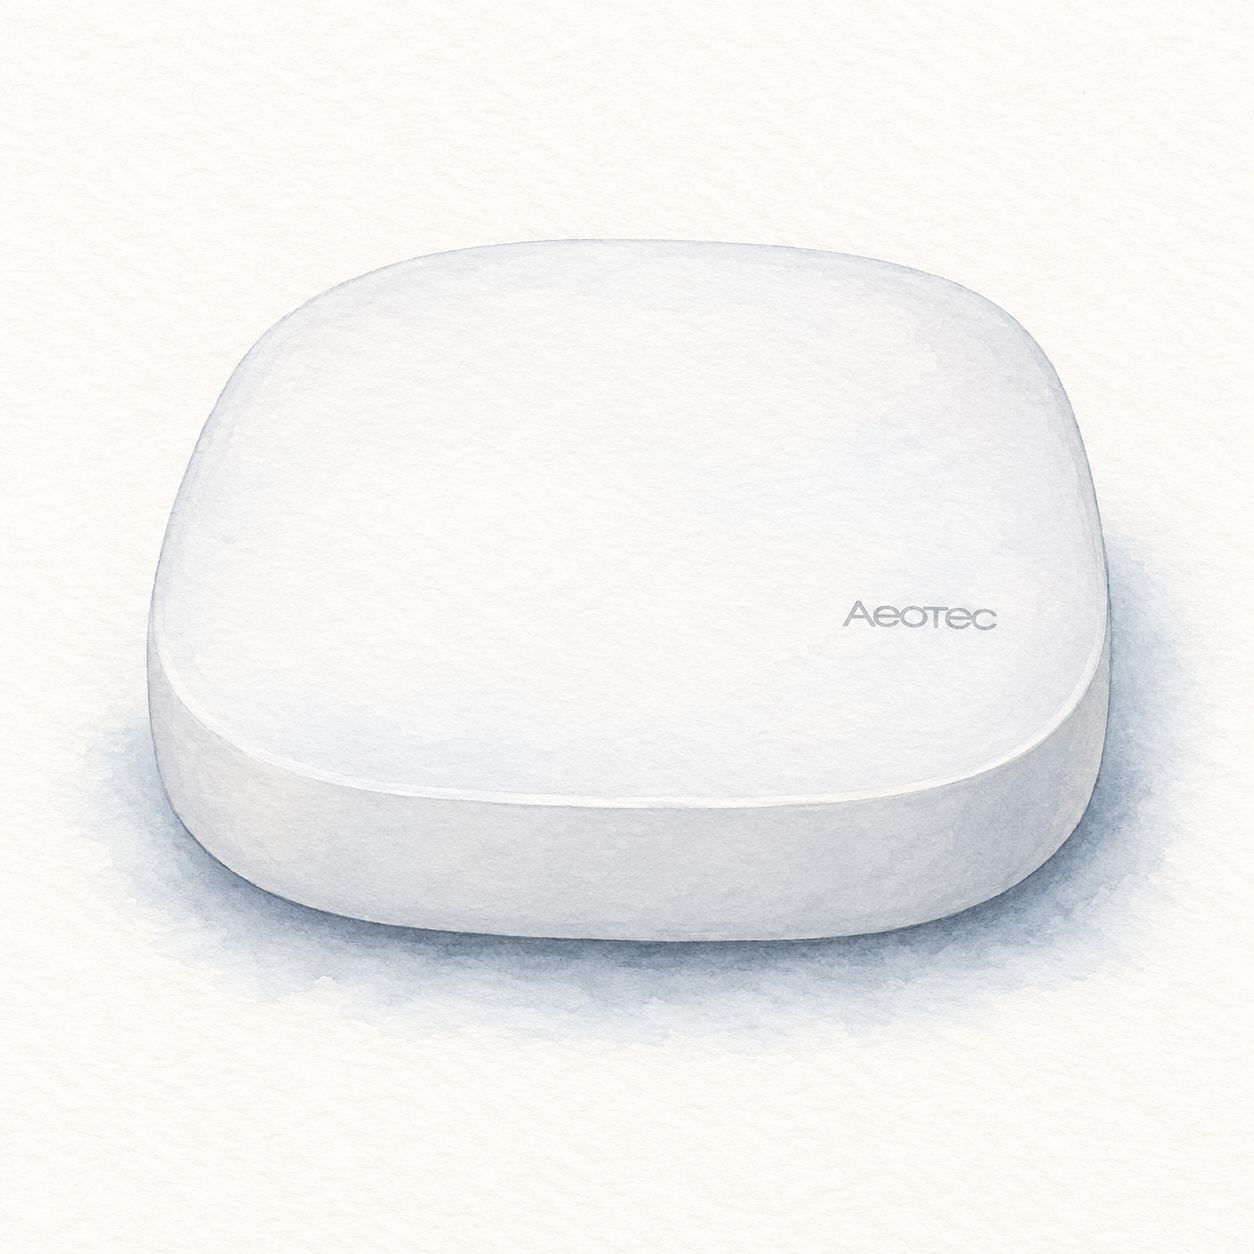
Illustration of the white low-profile rounded-square Aeotec GP-AEOHUBV3 Smart Home Hub; not a product photo, rear ports out of view and cables and power adapter omitted

Aeotec V3 hub illustration — not a product photo or full kit

Aeotec

Aeotec SmartThings Hub

Smart Home Hub for SmartThings

Power and app setup

Confirm US model GP-AEOHUBV3US: regional Z-Wave radios differ. Initial setup needs power, broadband internet, SmartThings and a Samsung account; Ethernet is recommended. Setup does not verify every accessory or establish cloud-free operation.

Setup checks & conditions

Initial setup uses the Samsung account and SmartThings app. This role does not certify an accessory pairing, routine or migration.

  • For initial hub setup, use the supplied power adapter and a broadband internet connection. Aeotec recommends Ethernet for initial setup; wireless connection uses 2.4 GHz Wi-Fi with WPA2. Place the hub centrally, away from large metal objects, and check the connection at its final location.
  • Use the SmartThings app and a Samsung account to register the hub with its QR code or serial number. Allow registration and firmware updates to finish. This assessment covers powering and registering the hub, not migrating an existing home or pairing and validating every accessory and routine.
  • Confirm the US model GP-AEOHUBV3US before buying; regional Z-Wave radios differ. These requirements do not cover Smart Home Hub 2. The unit, firmware and individual device integrations have not been physically verified, and successful setup does not establish cloud-free operation.
All setup checks & sources
Smart Thermostat
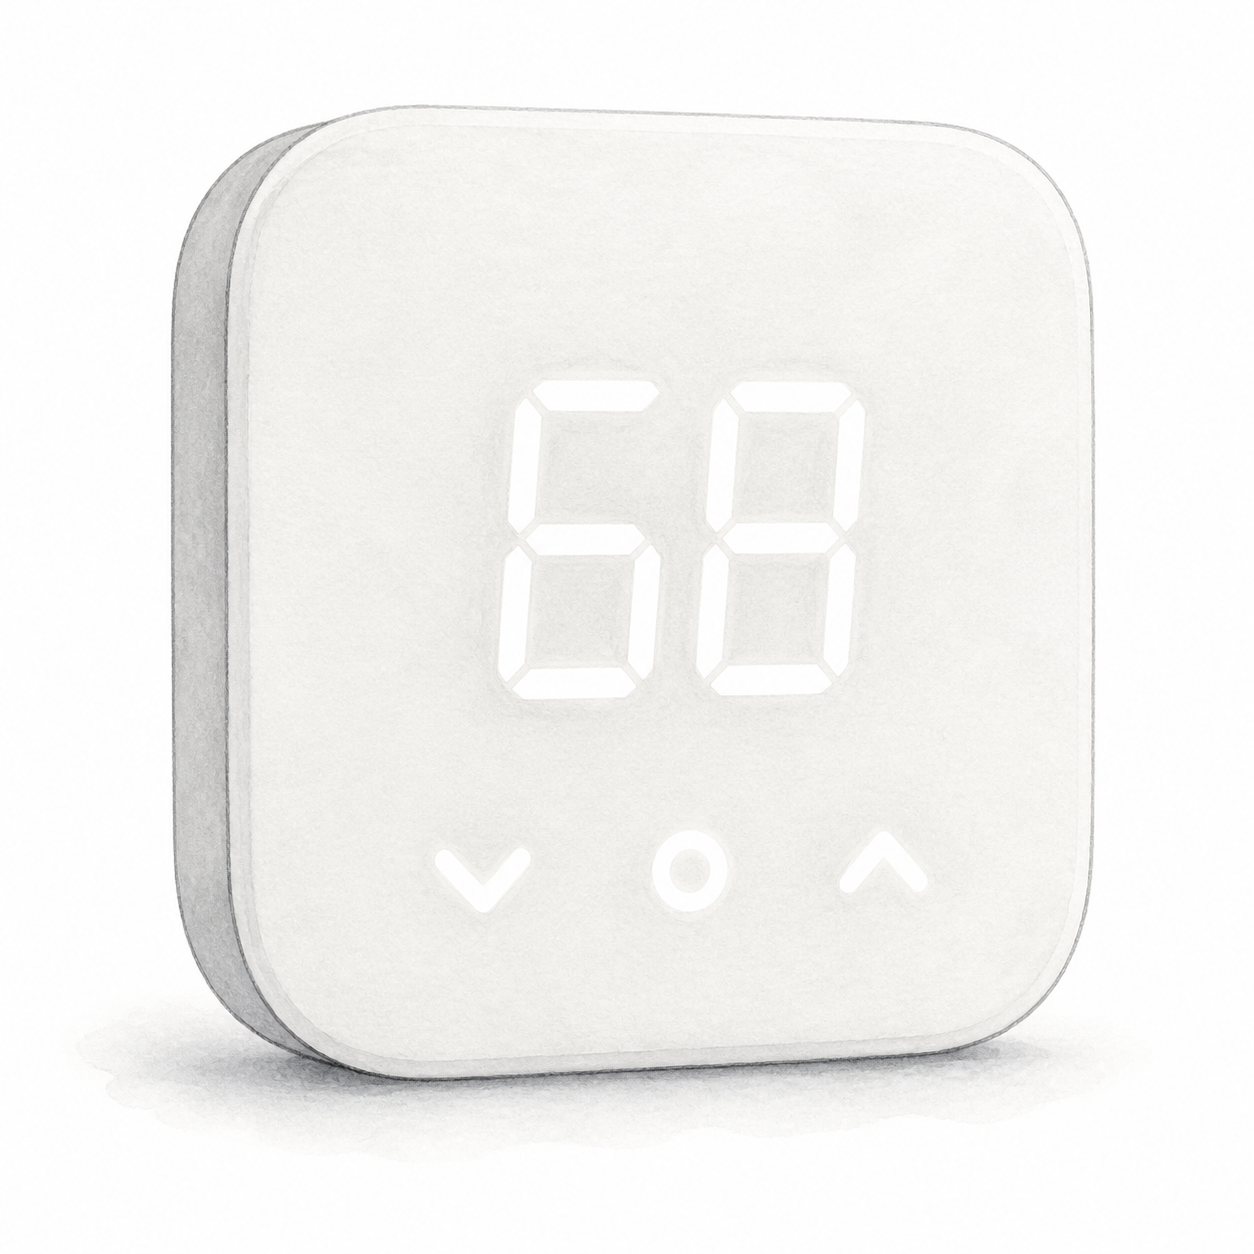
Illustration of the white rounded-square Amazon Smart Thermostat with a sample 68 display and three lower controls; not a product photo or installation kit

Amazon Smart Thermostat illustration — not a product photo

Amazon

Amazon Smart Thermostat

Controller for compatible 24 V HVAC wiring

Wiring or detailed installation checks

Needs compatible 24 V HVAC and a C-wire or compatible adapter; not 120–240 V or millivolt systems. Follow the manual's power-isolation precautions and use a professional if unsure.

Setup checks & conditions

First setup check

Needs compatible 24 V HVAC and a C-wire or compatible adapter; not 120–240 V or millivolt systems. Follow the manual's power-isolation precautions and use a professional if unsure.

Not a line-voltage or millivolt thermostat; power and wiring compatibility must be checked.

  • Requires compatible 24 V HVAC wiring and a C-wire or compatible C-wire power adapter; not for 120–240 V or millivolt systems.
  • Follow the manual's power-isolation precautions and use a professional if you are not comfortable with electrical wiring. Alexa app and 2.4 GHz Wi-Fi setup are also required.
All setup checks & sources
Smart Hub
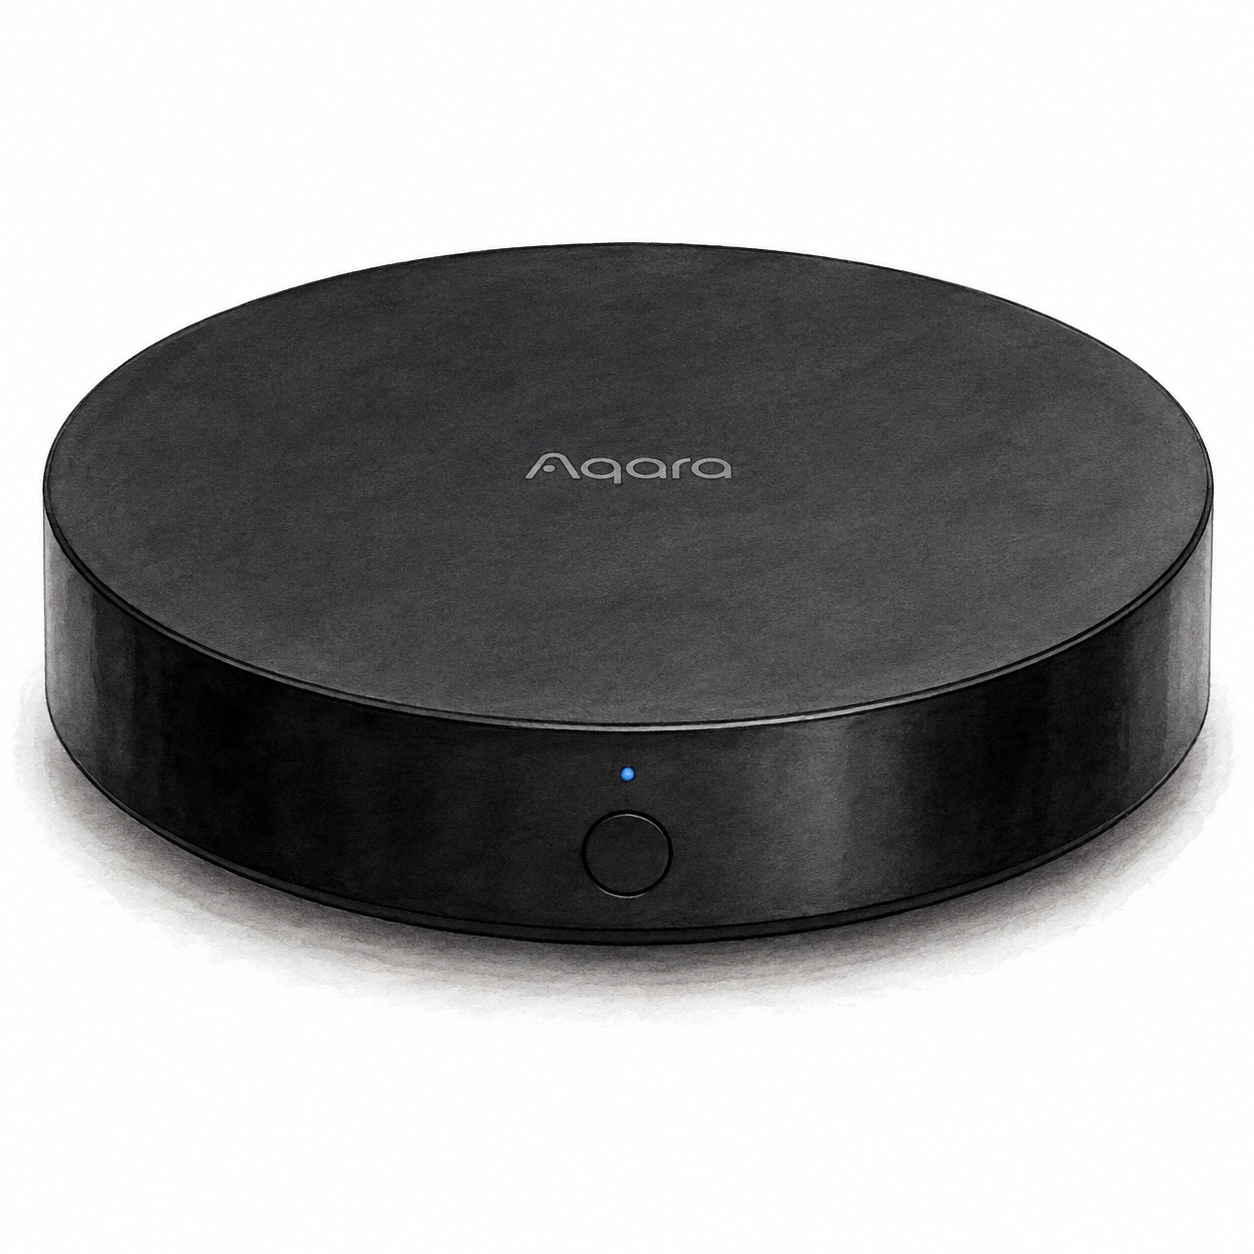
Illustration of the low black circular Aqara Hub M2 with a front button and small blue indicator; not a product photo, cables and accessories omitted

Aqara Hub M2 illustration — not a product photo

Aqara

Aqara Hub M2

Aqara hub for compatible accessories

Power and app setup

Plan for a separate 5 V USB power adapter; check the exact package. Ethernet does not replace USB power.

Setup checks & conditions

First setup check

Plan for a separate 5 V USB power adapter; check the exact package. Ethernet does not replace USB power.

The setup document covers HM2-G01. It does not certify every accessory or the firmware of a seller's unit.

  • For the documented HM2-G01 model, connect Micro-USB power using a 5 V, 1 A or 2 A adapter. The manual says the adapter is purchased separately; check the exact package before buying.
  • Use the Aqara Home app with your phone on 2.4 GHz Wi-Fi for setup. An RJ45 Ethernet cable can connect the hub to the router's LAN port; USB power is still required.
  • Place the hub indoors and avoid metal obstructions around it. Follow the manufacturer placement and accessory-pairing instructions for your exact hardware.
All setup checks & sources
Motion Sensor
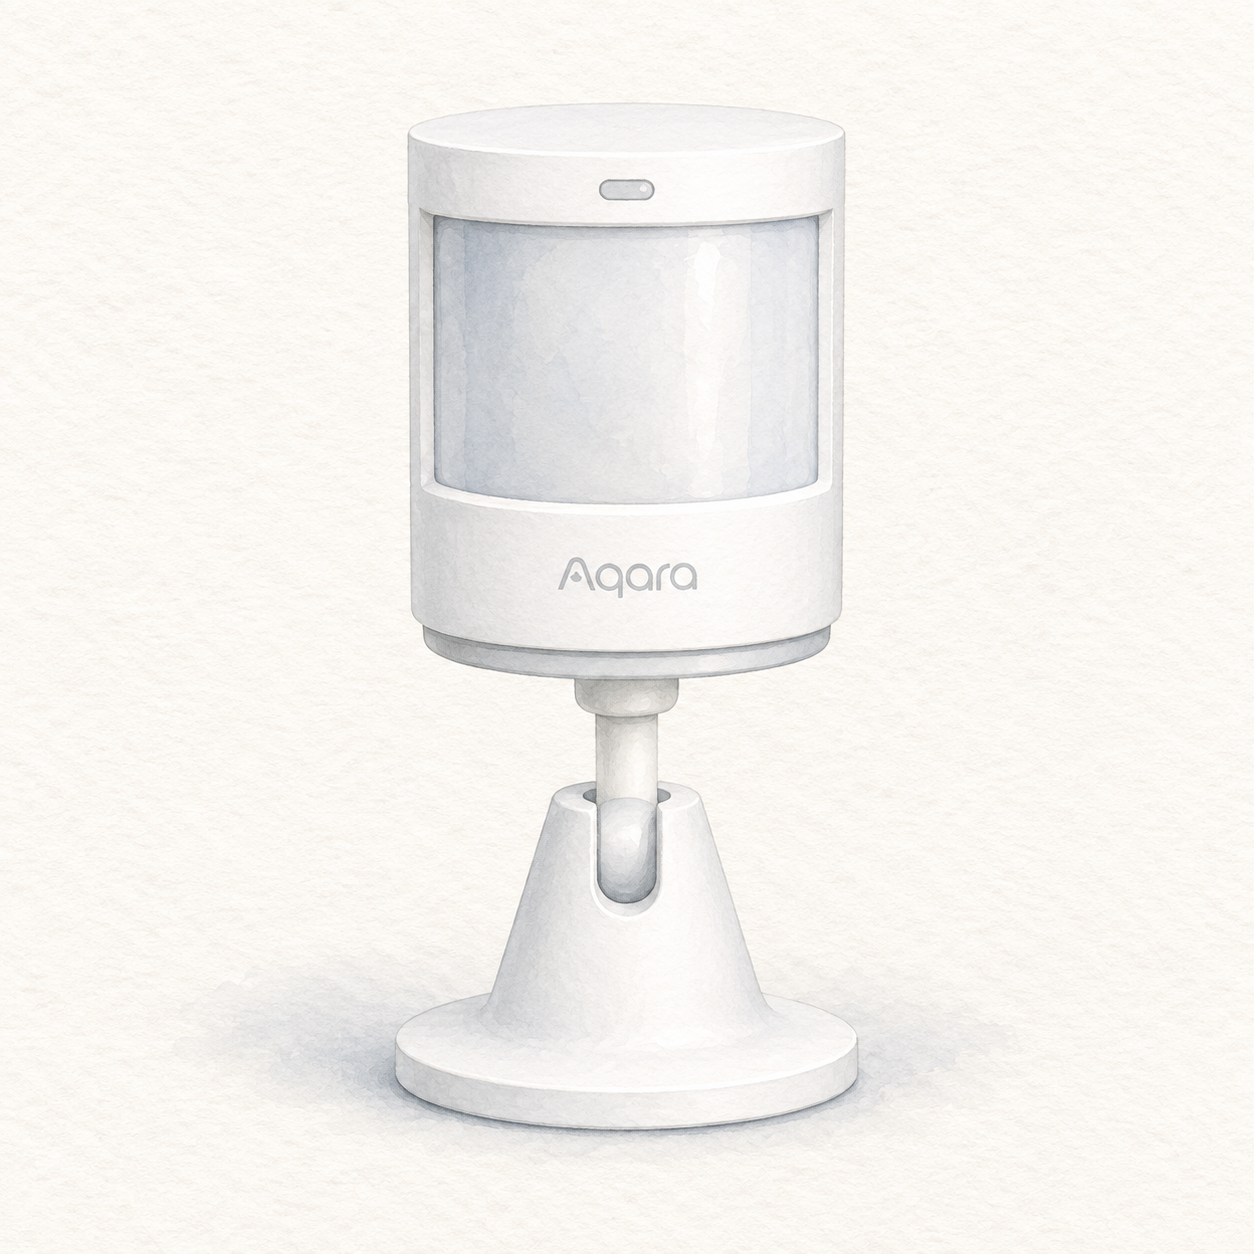
Illustration of the white cylindrical Aqara Motion Sensor P1 MS-S02 with frosted PIR window and articulated holder; not a product photo, required hub and mounting sticker not shown

Aqara P1 and holder illustration — not a photo; hub not shown

Aqara

Aqara Motion Sensor P1

Zigbee motion and ambient-light sensor; requires a compatible Aqara Zigbee 3.0 hub

Mounting or guided setup

Requires an Aqara Zigbee 3.0 hub. Keep its CR2450 button batteries away from children; stop using it if the battery compartment will not close securely. This documentary assessment is not a security-system test or pairing guarantee.

Setup checks & conditions

This is a sensor accessory, not a hub or controller. No individual ecosystem pairing is certified here.

  • Have an Aqara Zigbee 3.0 hub and Aqara Home app ready. Remove the battery insulating tab, add Motion Sensor P1 in the app and confirm communication with the hub before fixing the sensor in position.
  • Use indoors, away from moisture and heat sources. Choose a clean, flat mounting surface and a detection direction; the manual recommends 1.2-2 m mounting height. Avoid glass, tile, marble, uneven wall coverings and facing heaters. Test detection at the intended location.
  • Follow the MS-S02 manual for its two CR2450 button batteries; keep new and used batteries away from children and stop using a compartment that will not close securely. This is a documentary setup assessment, not a tested security system or a guarantee of ecosystem pairing.
All setup checks & sources
Security Camera
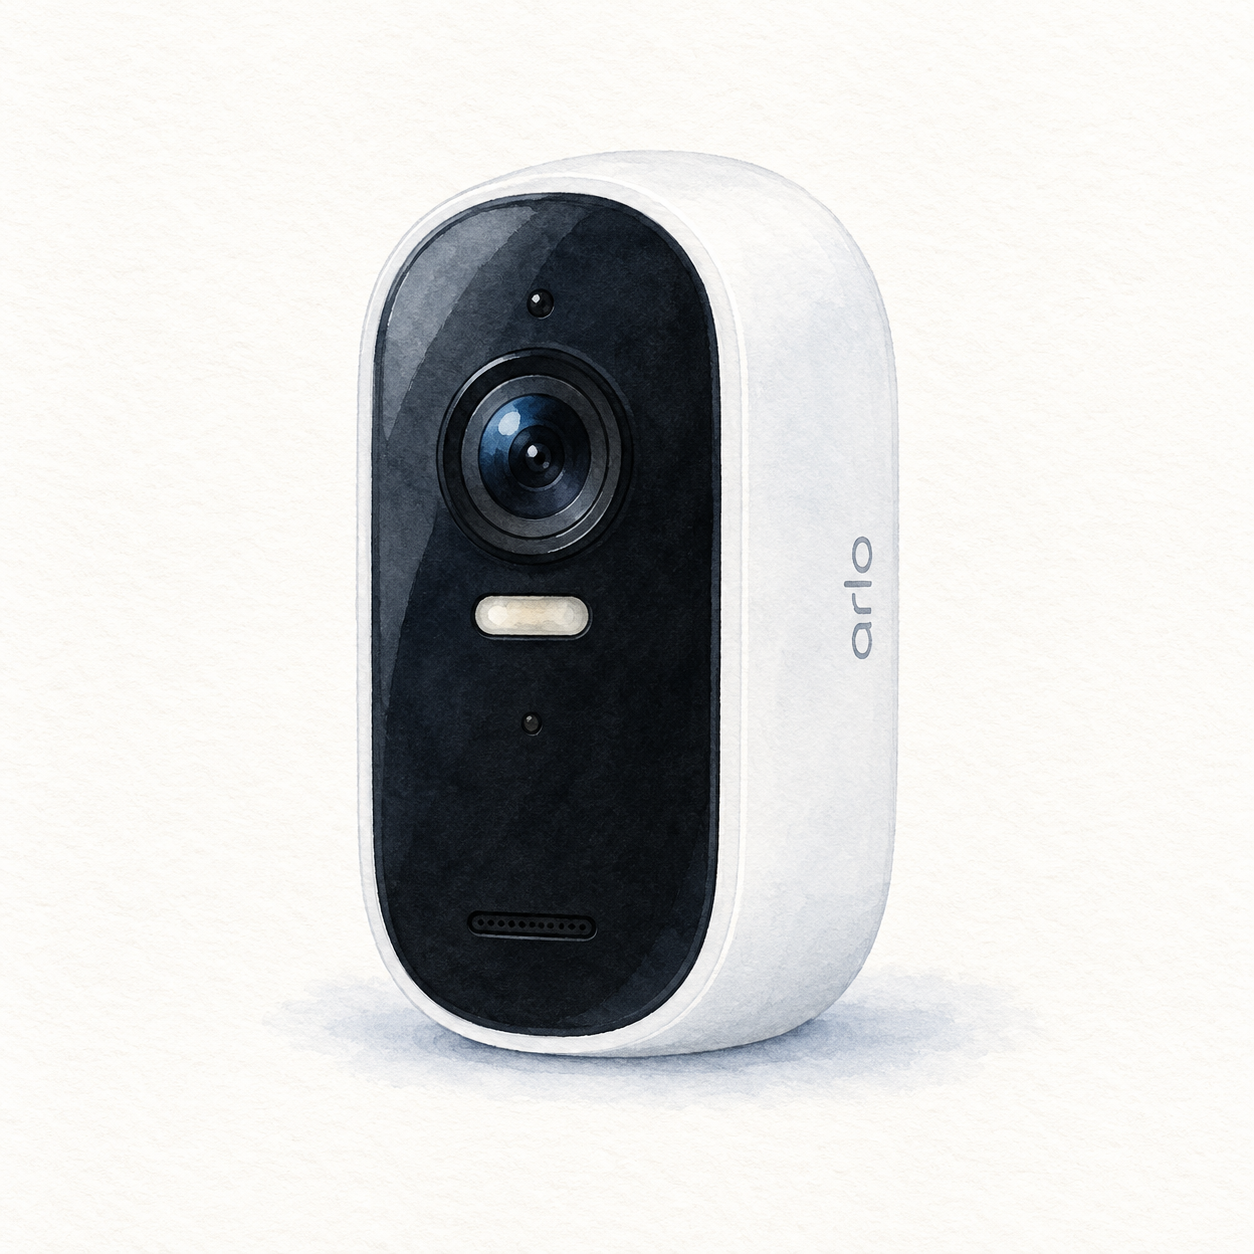
Illustration of one white Arlo Essential Outdoor second-generation camera with a black oblong face and spotlight below the lens; not a product photo, mount and charging accessories omitted, seller pack quantity unverified

Arlo Essential 2nd Gen illustration — one camera, not a photo or full kit

Mounting or guided setup

Charge this second-generation camera indoors: the supplied USB-C charging cable is for indoor use only, and the battery is integrated rather than removable. An outdoor-rated camera does not make its charging cable suitable for outdoor use.

Setup checks & conditions
  • Charge this second-generation camera indoors: the supplied USB-C charging cable is for indoor use only, and the battery is integrated rather than removable. An outdoor-rated camera does not make its charging cable suitable for outdoor use.
  • Set up the camera in the Arlo Secure app on 2.4 GHz Wi-Fi and check signal strength at the intended location. Use the wall plate, mount and appropriate fixings, adjust the view, and test motion detection after placement; do not assume mounting alone verifies coverage.
  • These checks concern Essential Outdoor HD, 2nd Generation, not the 2K, XL or newer generations. Confirm the exact package: the consulted listing title says one camera but its bullets mention a three-pack. Hardware, included accessories and recording-plan terms have not been independently verified.
All setup checks & sources
Smart Lock
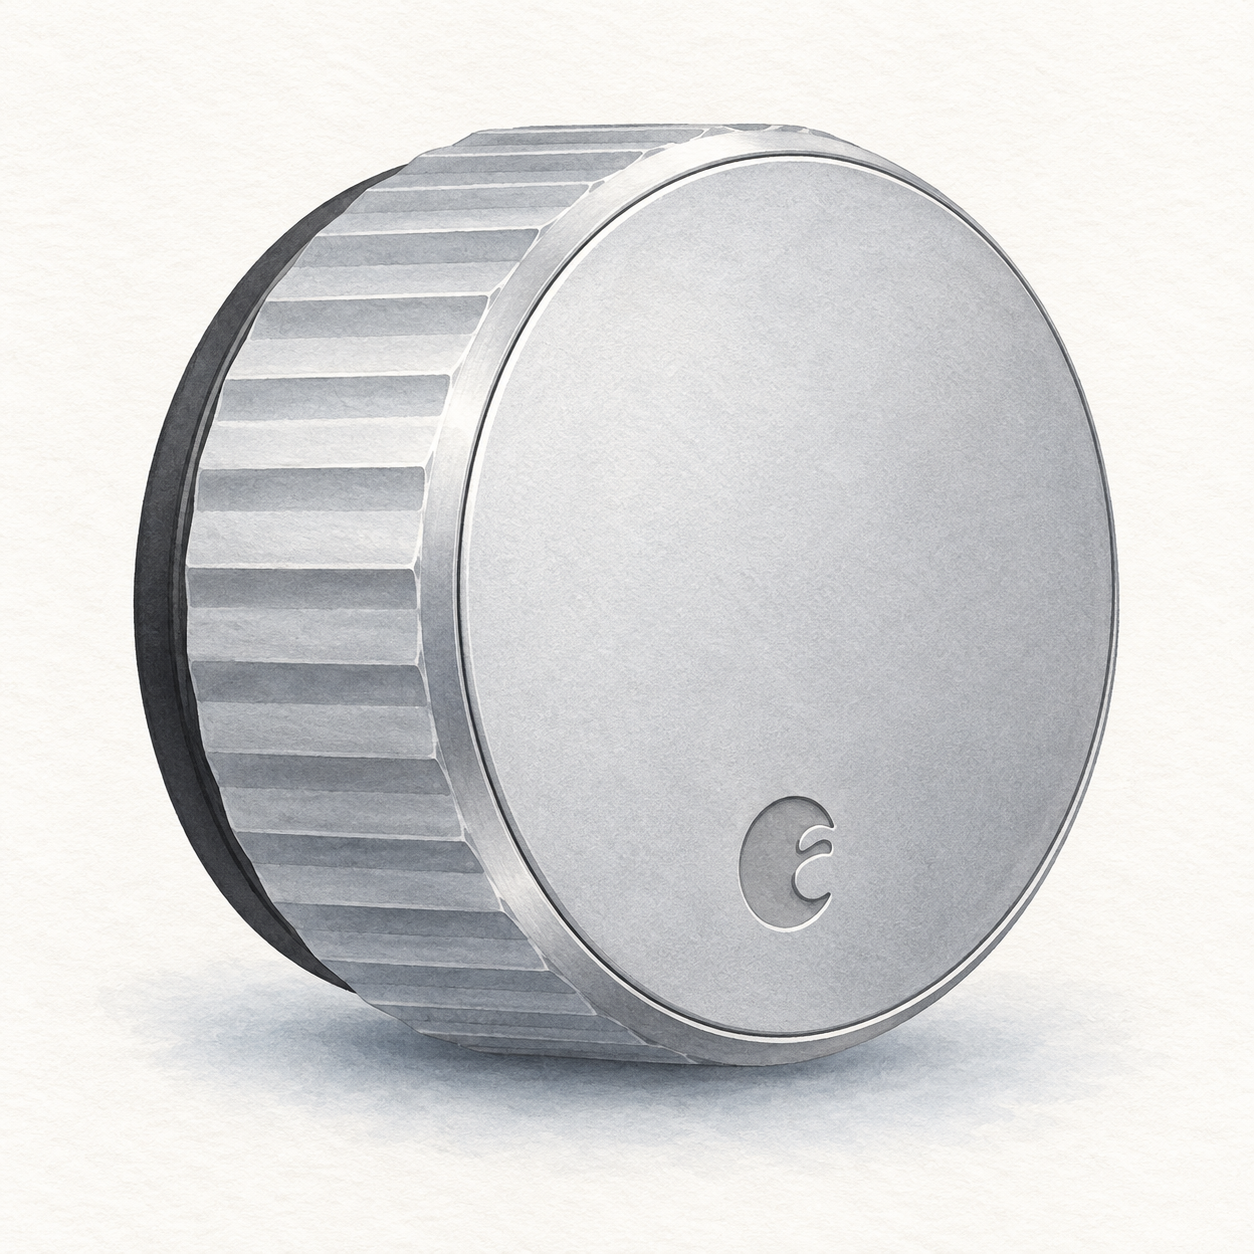
Illustration of one silver circular August Wi-Fi Smart Lock interior retrofit unit with a fluted grip; not a product photo, seller finish unverified, DoorSense, batteries and mounting hardware omitted

August Wi-Fi lock illustration — interior unit, not a photo or full kit

August

August Wi-Fi Smart Lock

Interior retrofit for a compatible single-cylinder deadbolt

Mounting or guided setup

Mounts on the inside of a compatible existing single-cylinder deadbolt; check August's deadbolt compatibility list first.

Setup checks & conditions

This retains the exterior lock rather than replacing the entire deadbolt; consult the compatibility list.

  • Mounts on the inside of a compatible existing single-cylinder deadbolt; check August's deadbolt compatibility list first.
  • Requires batteries, the August app on a supported phone and Wi-Fi internet. This is a retrofit installation, not just app pairing.
All setup checks & sources
Security Camera
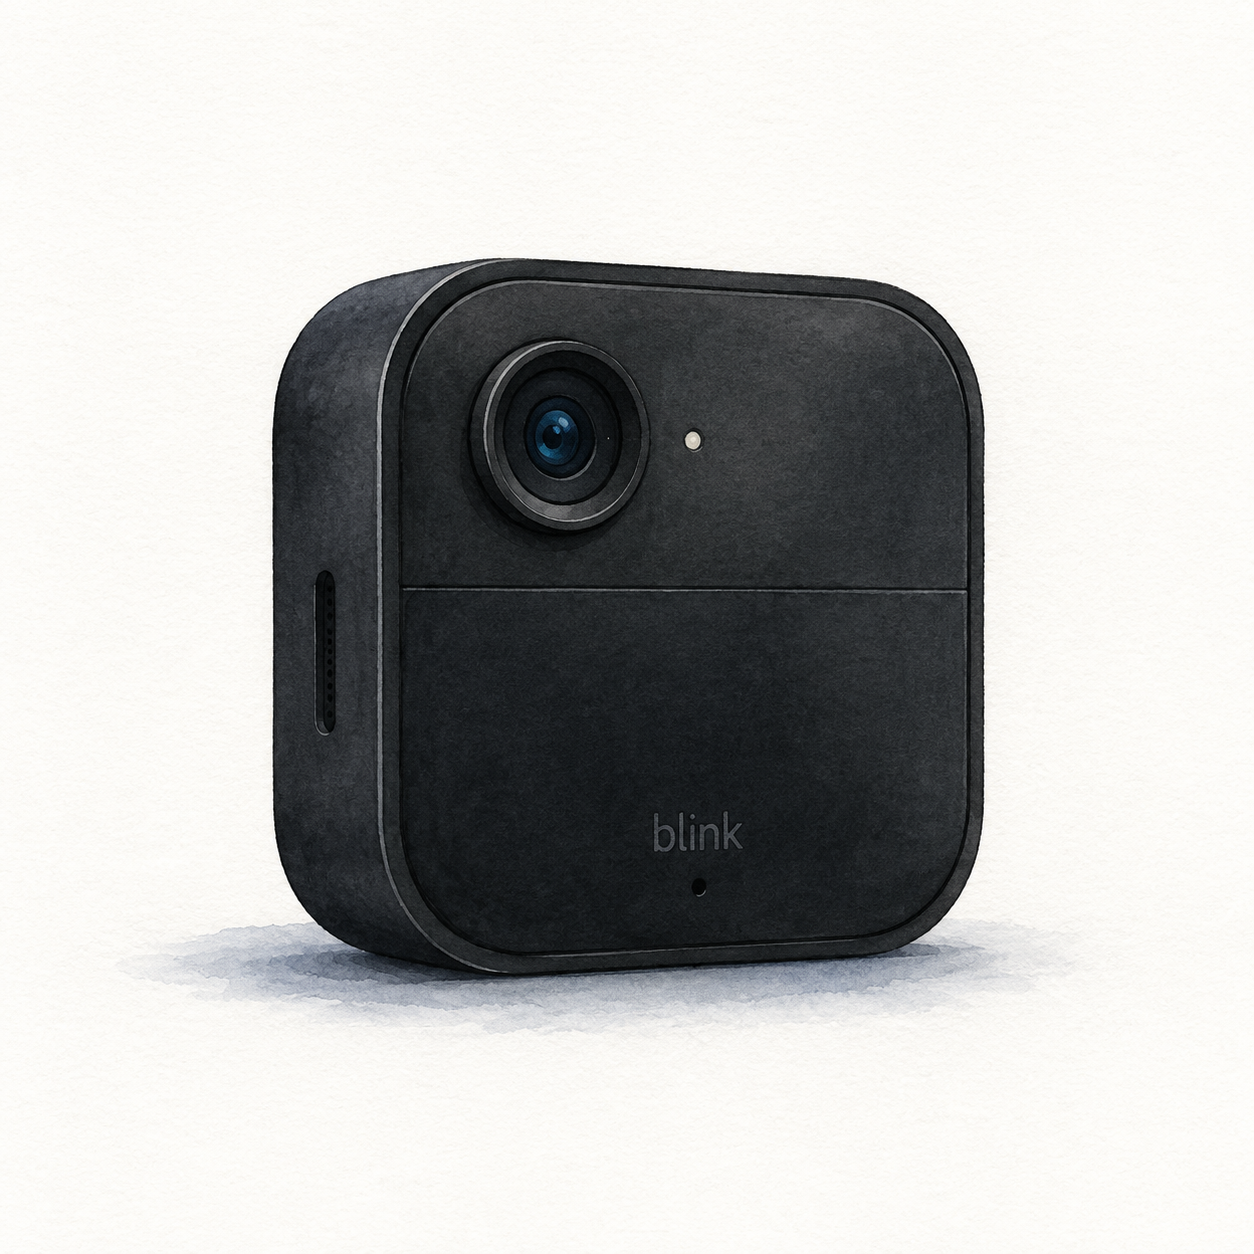
Illustration of one black rounded-square Blink Outdoor 4 with an offset upper lens; not a product photo, required Sync Module, mount and batteries not shown

Blink Outdoor 4 illustration — one camera, not a photo or full kit

Blink

Blink Outdoor 4

Camera requiring a compatible Blink Sync Module

Mounting or guided setup

Needs a Sync Module; check the bundle. Standard battery power uses non-rechargeable AA lithium batteries. Keep the port cover closed unless using Blink's weather-resistant USB-C adapter; an ordinary exposed connection is not equivalent.

Setup checks & conditions

Module inclusion depends on the package and is not verified by this camera-family document.

  • Requires a Blink Sync Module, home Wi-Fi and setup in the Blink app. Check whether the exact camera bundle includes the module or whether you need one separately.
  • The standard battery option uses two AA 1.5 V non-rechargeable lithium batteries. Choose a mounting position and follow Blink's installation instructions.
  • Keep the port cover closed for weather resistance unless using Blink's weather-resistant USB-C power adapter; an ordinary uncovered connection is not equivalent.
  • Local recording needs compatible storage hardware: Sync Module 2 with a USB drive or Sync Module XR with a microSD card. Cloud storage and Person Detection have subscription or trial conditions.
All setup checks & sources
Smart Speaker
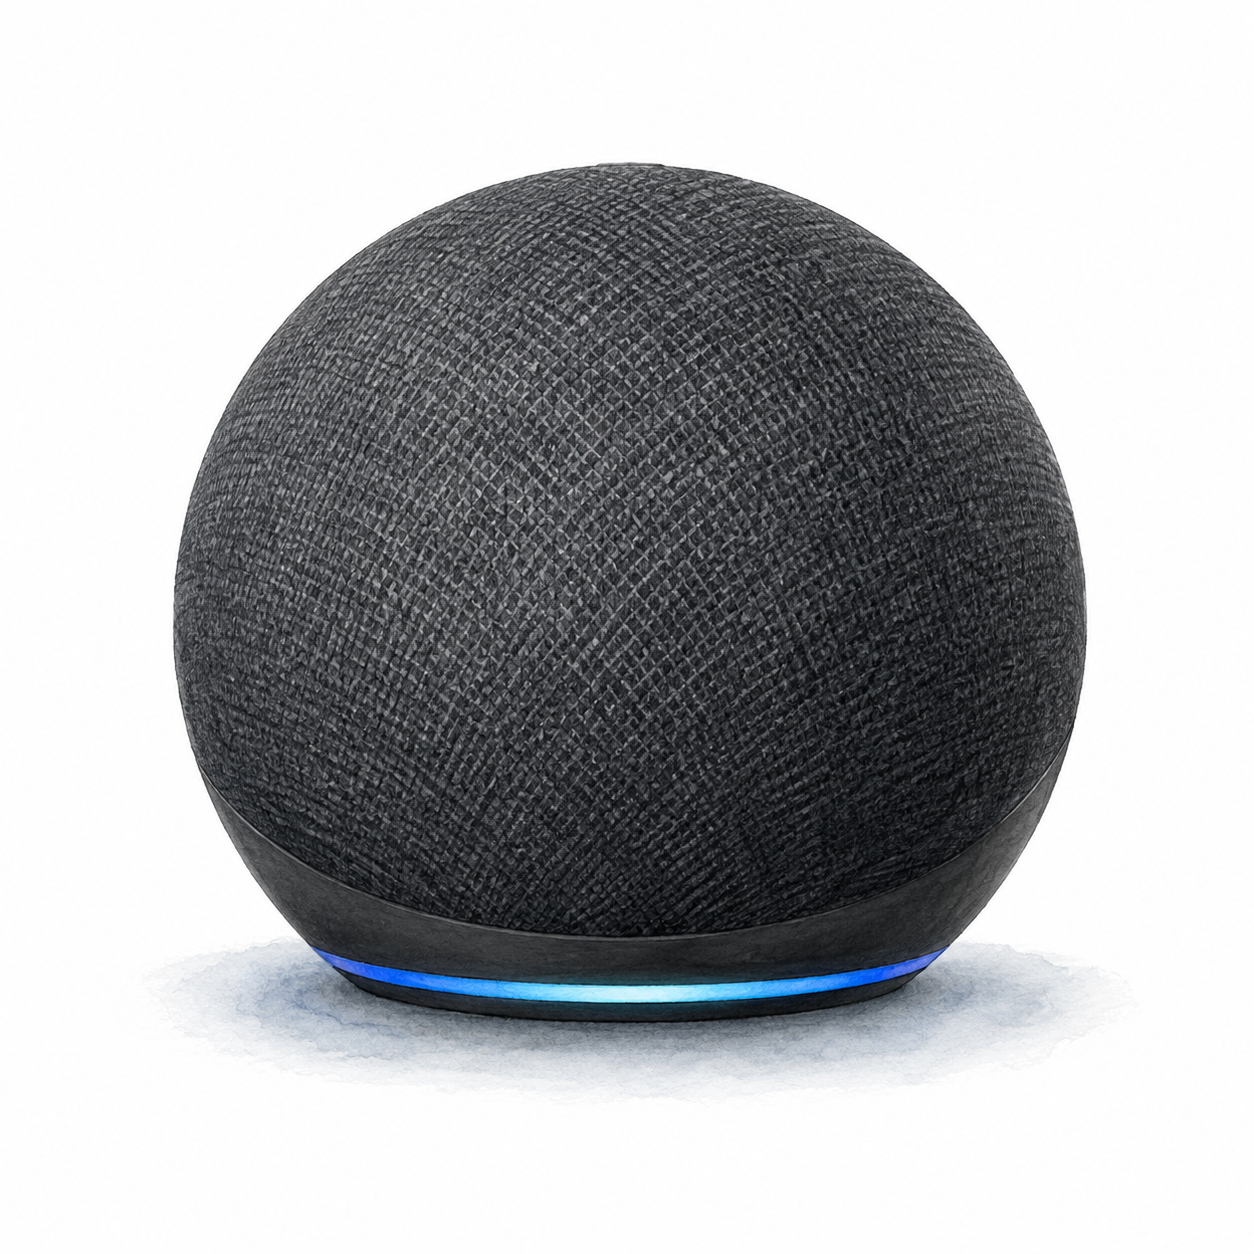
Illustration of the spherical Echo Dot 5th Gen without clock, in charcoal, with a blue light ring at the base; not a product photo

Echo Dot 5th Gen illustration — not a product photo

Amazon

Echo Dot 5th Gen

App-configured smart speaker

Power and app setup

Connect the power adapter, then complete setup in the Alexa app with an Amazon account and Wi-Fi internet.

Setup checks & conditions

Power, Amazon account and Wi-Fi setup are documented; this does not certify a smart-home accessory pairing.

  • Connect the power adapter, then complete setup in the Alexa app with an Amazon account and Wi-Fi internet.
All setup checks & sources
Smart Display
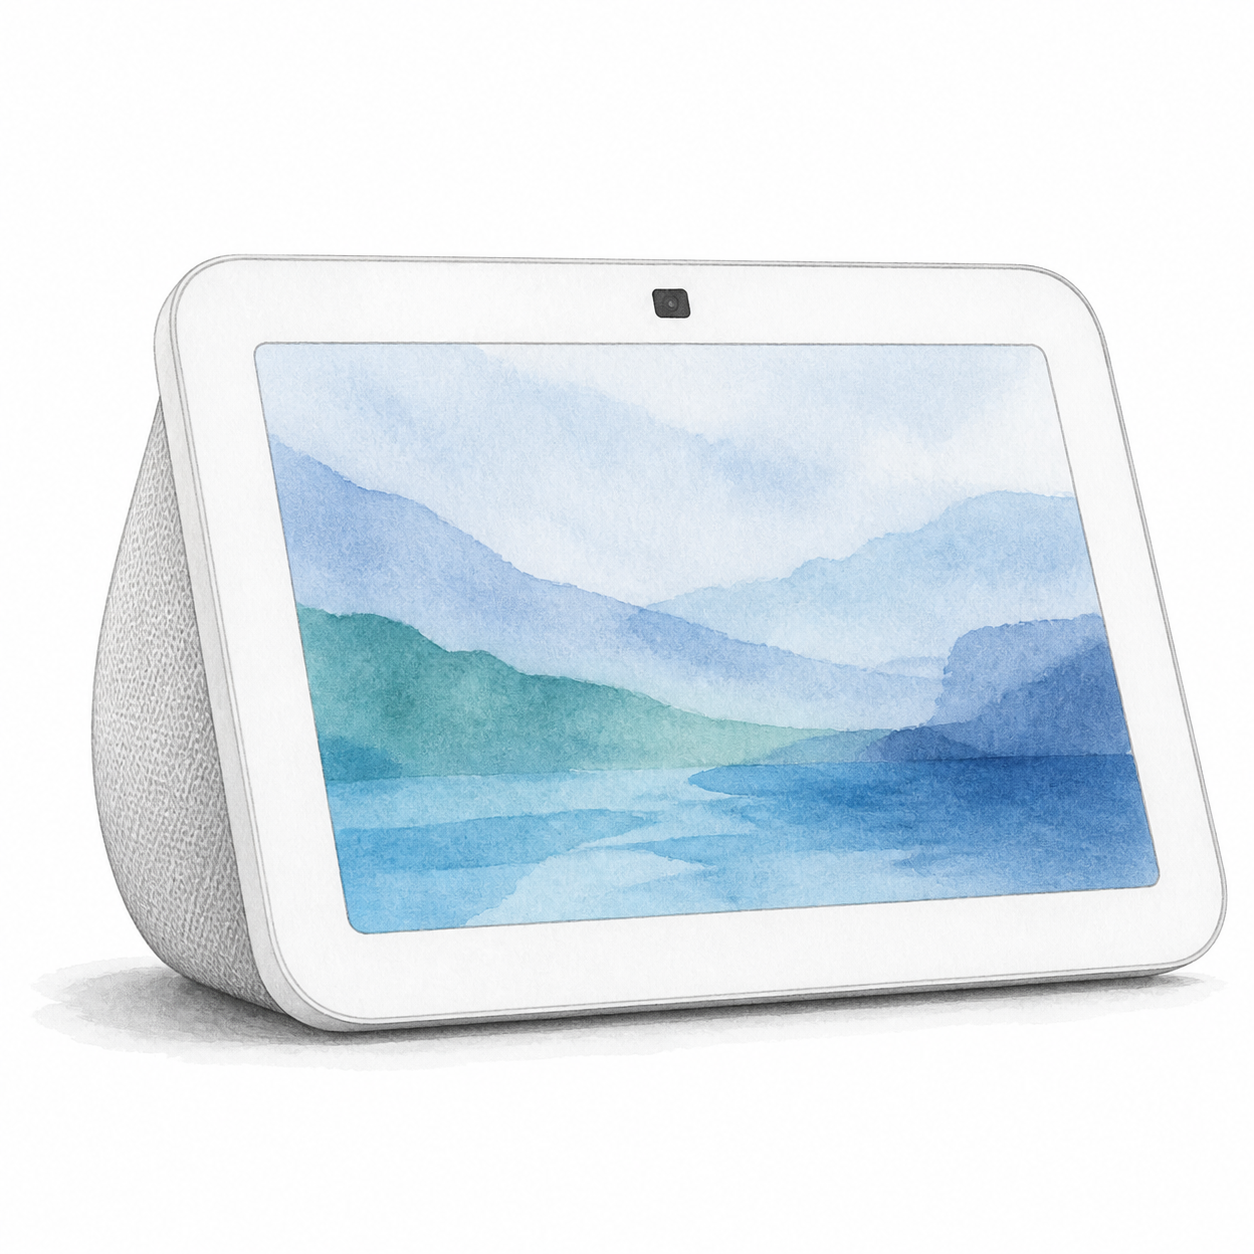
Illustration of the white Echo Show 8 third-generation family with a centered camera and rounded rear speaker; not a product photo, screen artwork is illustrative and accessories are omitted

Echo Show 8 3rd Gen illustration — not a photo; sample screen

Power and app setup

Check third-generation model R85SD6 and its included adapter. Choose a heat-resistant surface away from sinks, steam and heat. Setup requires an Amazon account and internet-connected Wi-Fi; review household camera and microphone settings. The shutter does not establish cloud-free operation.

Setup checks & conditions
  • Use the included power adapter in an accessible outlet and place the display on a heat-resistant surface away from sinks, steam and heat sources. Amazon's US safety guide identifies third-generation model R85SD6; confirm the unit and included adapter before buying.
  • Have an Amazon account and your internet-connected Wi-Fi network name and password ready. Complete language, network and account setup on the display. This assessment covers initial display setup, not mounting accessories or configuring every connected smart-home device.
  • Review the microphone/camera controls, built-in camera shutter and voice-history settings with the household. The shutter does not establish cloud-free operation. Check any optional service and subscription terms separately; hardware, firmware and individual device pairings have not been physically verified.
All setup checks & sources
Smart Thermostat
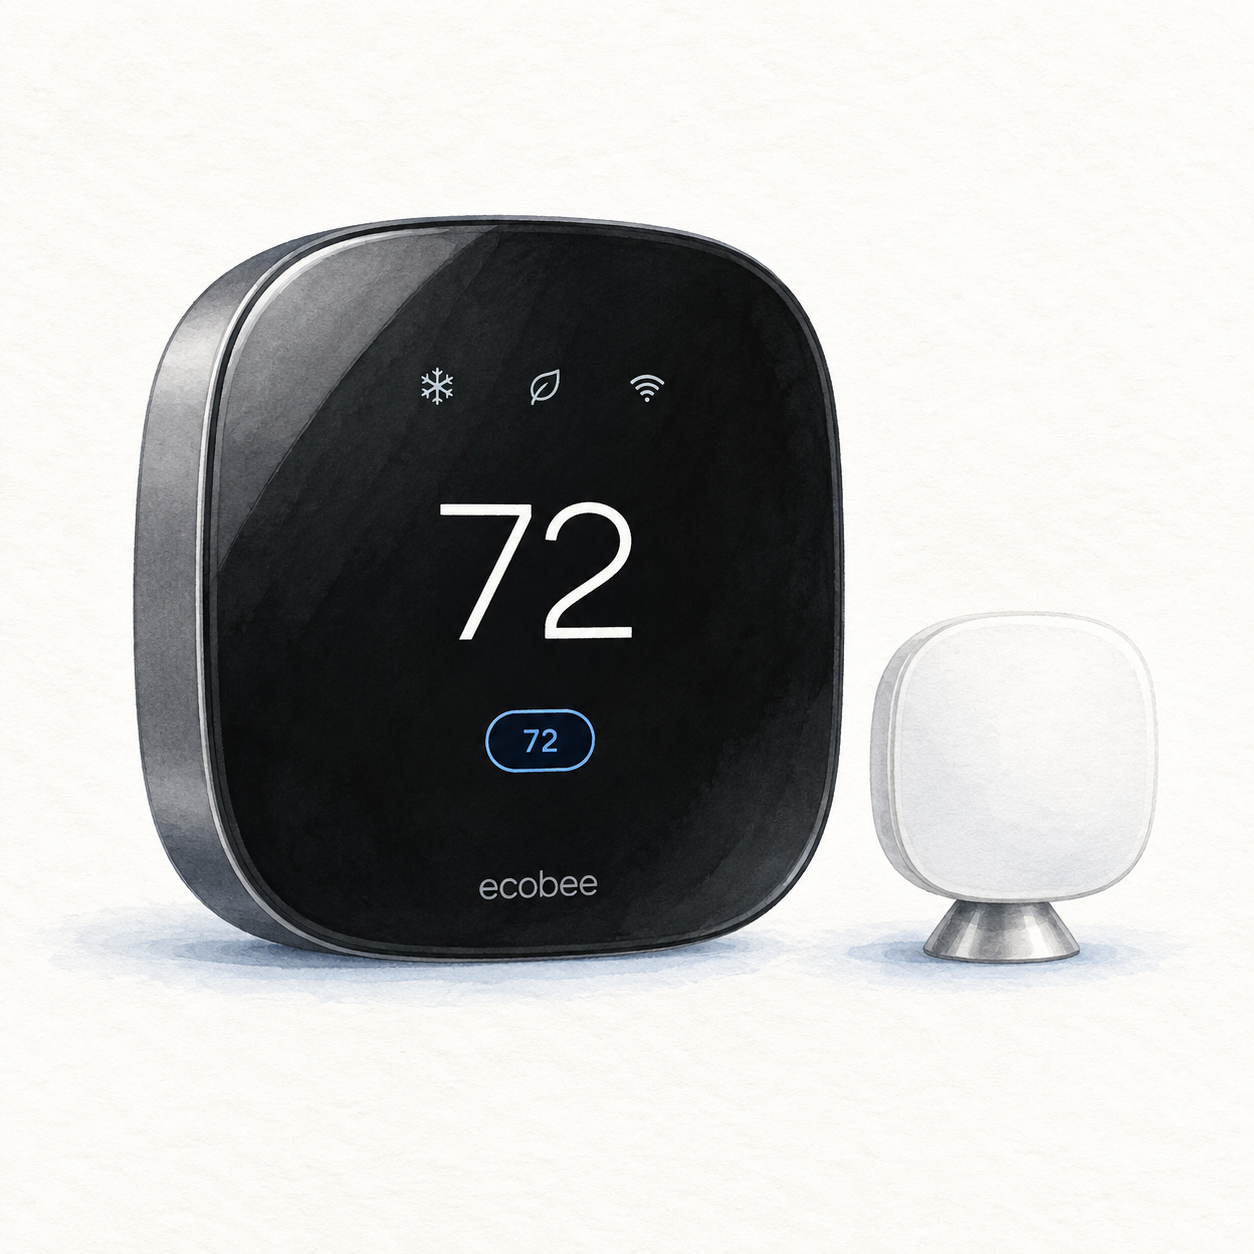
Illustration of the black ecobee Smart Thermostat Premium with one white room SmartSensor and a sample 72 display; not a product photo or complete installation kit

ecobee Premium illustration — not a photo; sample screen, accessories omitted

ecobee

ecobee Smart Thermostat Premium

Controller for compatible 24 VAC HVAC systems

Wiring or detailed installation checks

Check compatible 24 VAC HVAC wiring before buying. Power needs a C-wire or compatible Power Extender Kit installation; confirm the wiring and installation needs with ecobee or an HVAC professional.

Setup checks & conditions

Check wiring and powering method; the catalog identity does not establish compatibility with a household system.

  • Requires compatible 24 VAC HVAC wiring; check your system with ecobee's compatibility checker before purchase.
  • Power uses a C-wire or a compatible Power Extender Kit installation. Check wiring and installation needs with the manufacturer or an HVAC professional.
All setup checks & sources
Security Camera
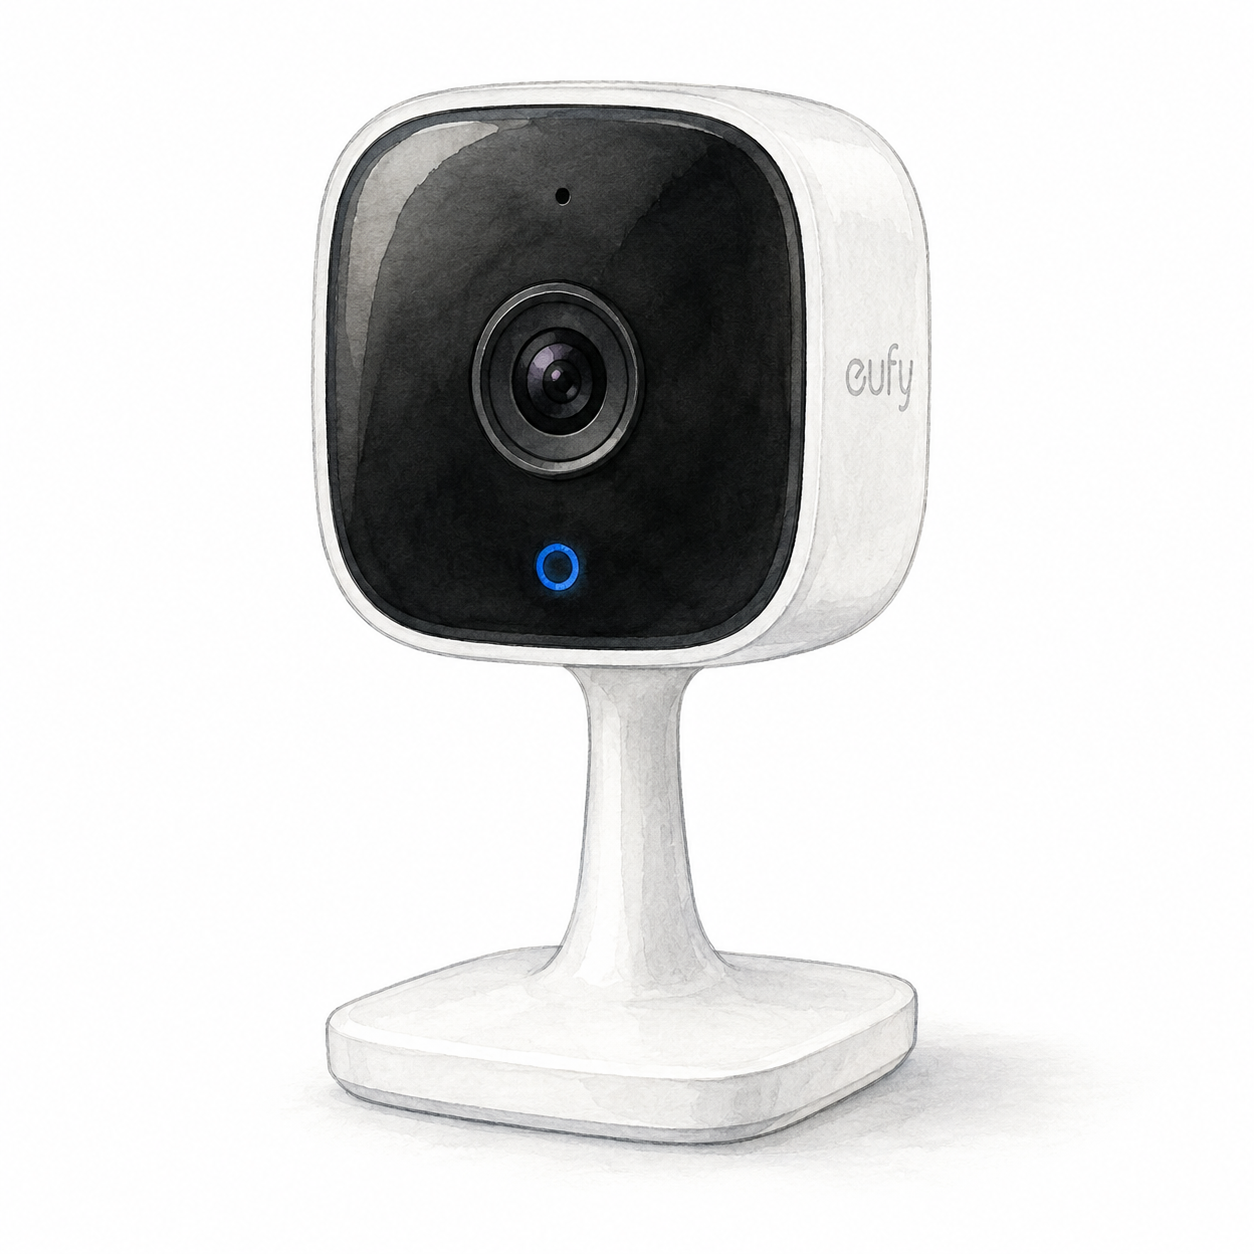
Illustration of the fixed eufy Indoor Cam C120 family with a black rounded-square camera face and white pedestal; not a product photo, cables and accessories omitted

eufy Indoor Cam C120 illustration — not a product photo

Mounting or guided setup

Indoor-only, plug-in camera with 2.4 GHz Wi-Fi. Local on-camera recording needs a separately purchased microSD card; this does not establish cloud-free operation.

Setup checks & conditions

First setup check

Indoor-only, plug-in camera with 2.4 GHz Wi-Fi. Local on-camera recording needs a separately purchased microSD card; this does not establish cloud-free operation.

  • For the fixed T8400 Indoor Cam family, plan indoor-only placement and plug-in power: eufy specifies 5 V / 1 A and 2.4 GHz Wi-Fi. This is not a battery-powered outdoor camera or the T8410 pan-and-tilt model. Confirm the supplied US power adapter and exact hardware before buying.
  • Create or sign in to the eufy app account and complete network setup before mounting. Plan cable routing and any mounting-bracket work using the unit's guide, and agree on camera placement with the people sharing the room.
  • For on-camera local recording, eufy specifies a microSD card up to 128 GB, purchased separately. Check the chosen recording service and settings; local storage does not establish cloud-free operation. The Amazon listing uses T8400X / T84001W1 identifiers; FlowHome has not inspected that hardware or its firmware.
All setup checks & sources
Smart Display
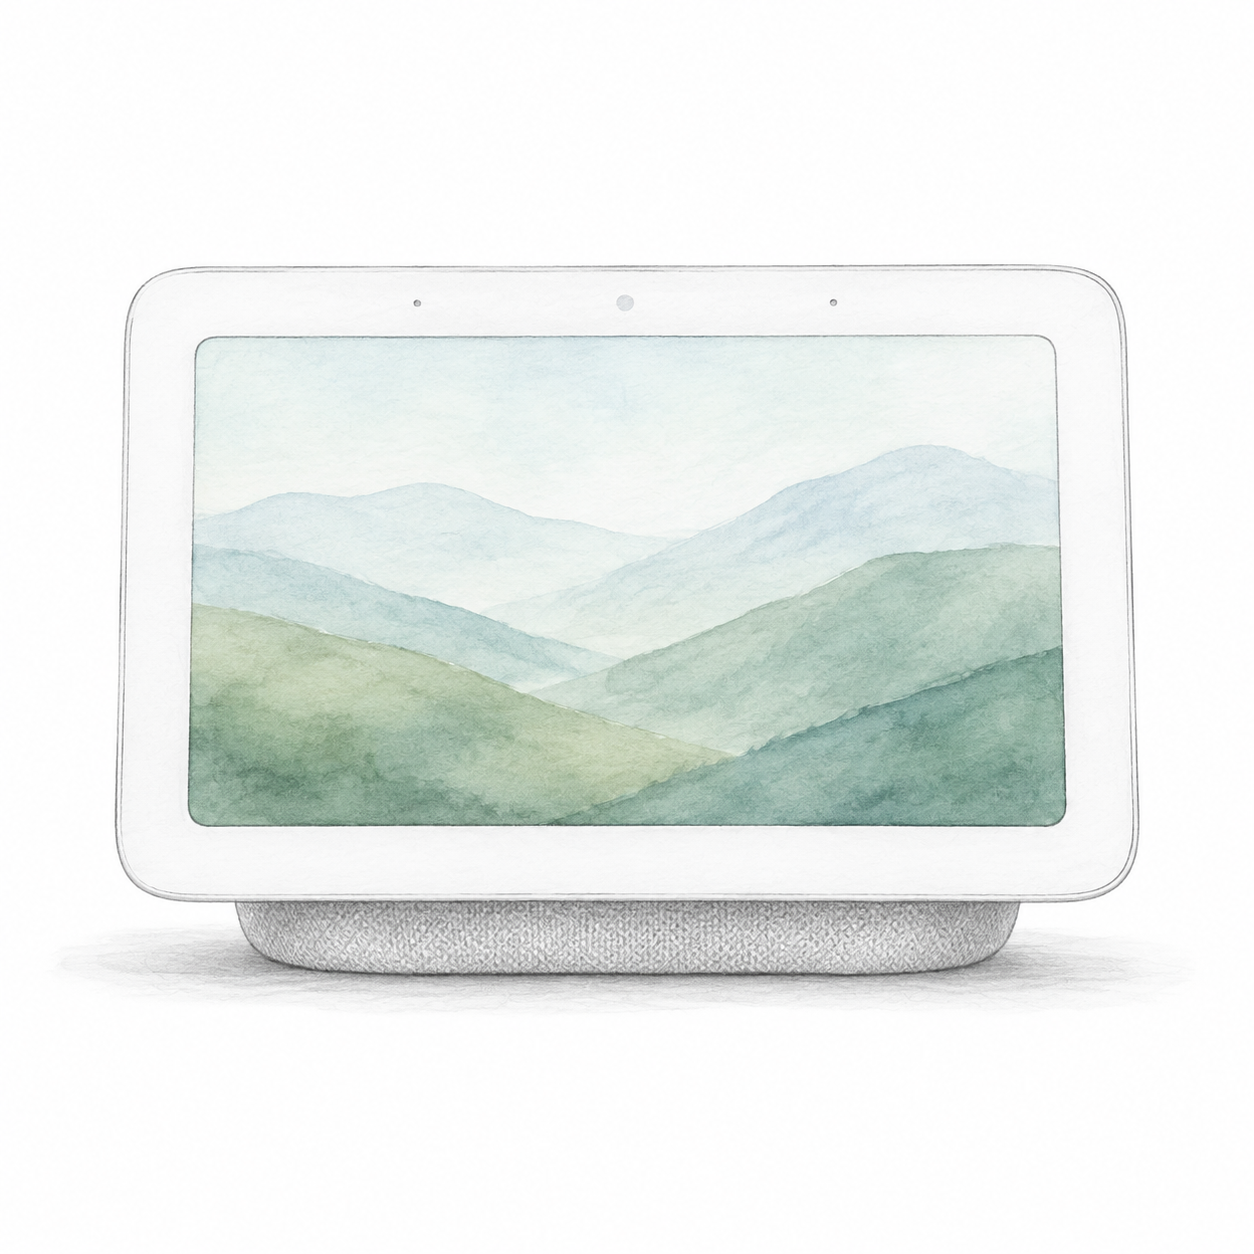
Illustration of the white Nest Hub second-generation family with a low fabric speaker base and no camera; not a product photo, screen artwork is illustrative and accessories are omitted

Nest Hub 2nd Gen illustration — not a photo; sample screen

Google

Google Nest Hub 2nd Gen

Powered smart display

Power and app setup

Needs wall-outlet power and setup in the Google Home app with a Google Account, a supported phone or tablet, and Wi-Fi internet.

Setup checks & conditions

Google Home app setup is separate from verifying a particular Matter accessory, service or firmware.

  • Needs wall-outlet power and setup in the Google Home app with a Google Account, a supported phone or tablet, and Wi-Fi internet.
All setup checks & sources
Smart Lighting
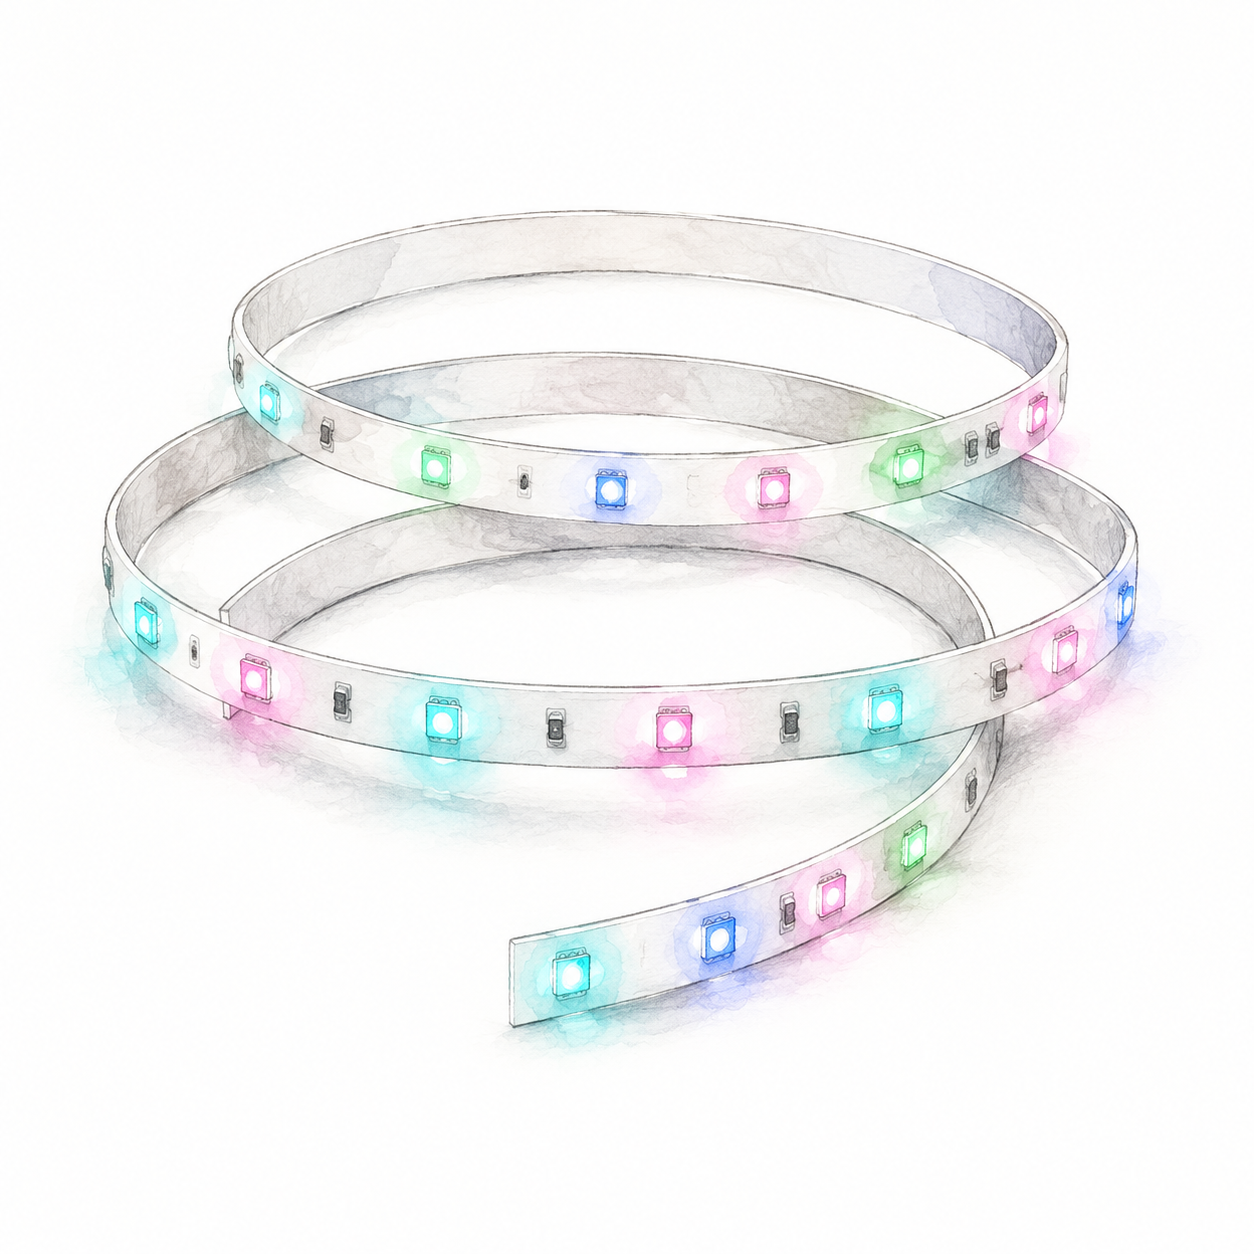
Illustration of a coiled section of the Govee H617C white RGBIC LED strip with separate colored LEDs; not a product photo or full kit

Govee H617C strip illustration — not a product photo or full kit

Govee

Govee RGBIC LED Strip Lights

Bluetooth-controlled RGBIC light strip

Mounting or guided setup

H617C is a fixed 10 m strip: do not cut or splice it. Use its matching 24 V adapter/controller. Control is Bluetooth through Govee Home, not direct Wi-Fi or Alexa; confirm the exact package.

Setup checks & conditions

The H617C row does not establish Wi-Fi, native Matter or Alexa support; do not transfer another strip's capabilities.

  • Plan space for the full 10 m (32.8 ft) H617C strip before mounting. Govee's model matrix marks this strip as not cuttable. Do not apply generic strip-cutting or splicing instructions to this model.
  • Use the matching supplied power adapter and controller; Govee specifies 24 V / 0.75 A for H617C. Its documented control path is Bluetooth with the Govee Home app, not direct Wi-Fi or Alexa. Confirm the exact H617C1D1 package and power hardware before buying.
  • Govee's general mounting guidance calls for a clean, dry surface and a planned cable route. Check the unit's instructions for the actual mounting surface and test the lights after placement. This estimate does not approve outdoor use, concealed wiring or custom power supplies; hardware and firmware have not been physically verified.
All setup checks & sources
Robot Vacuum
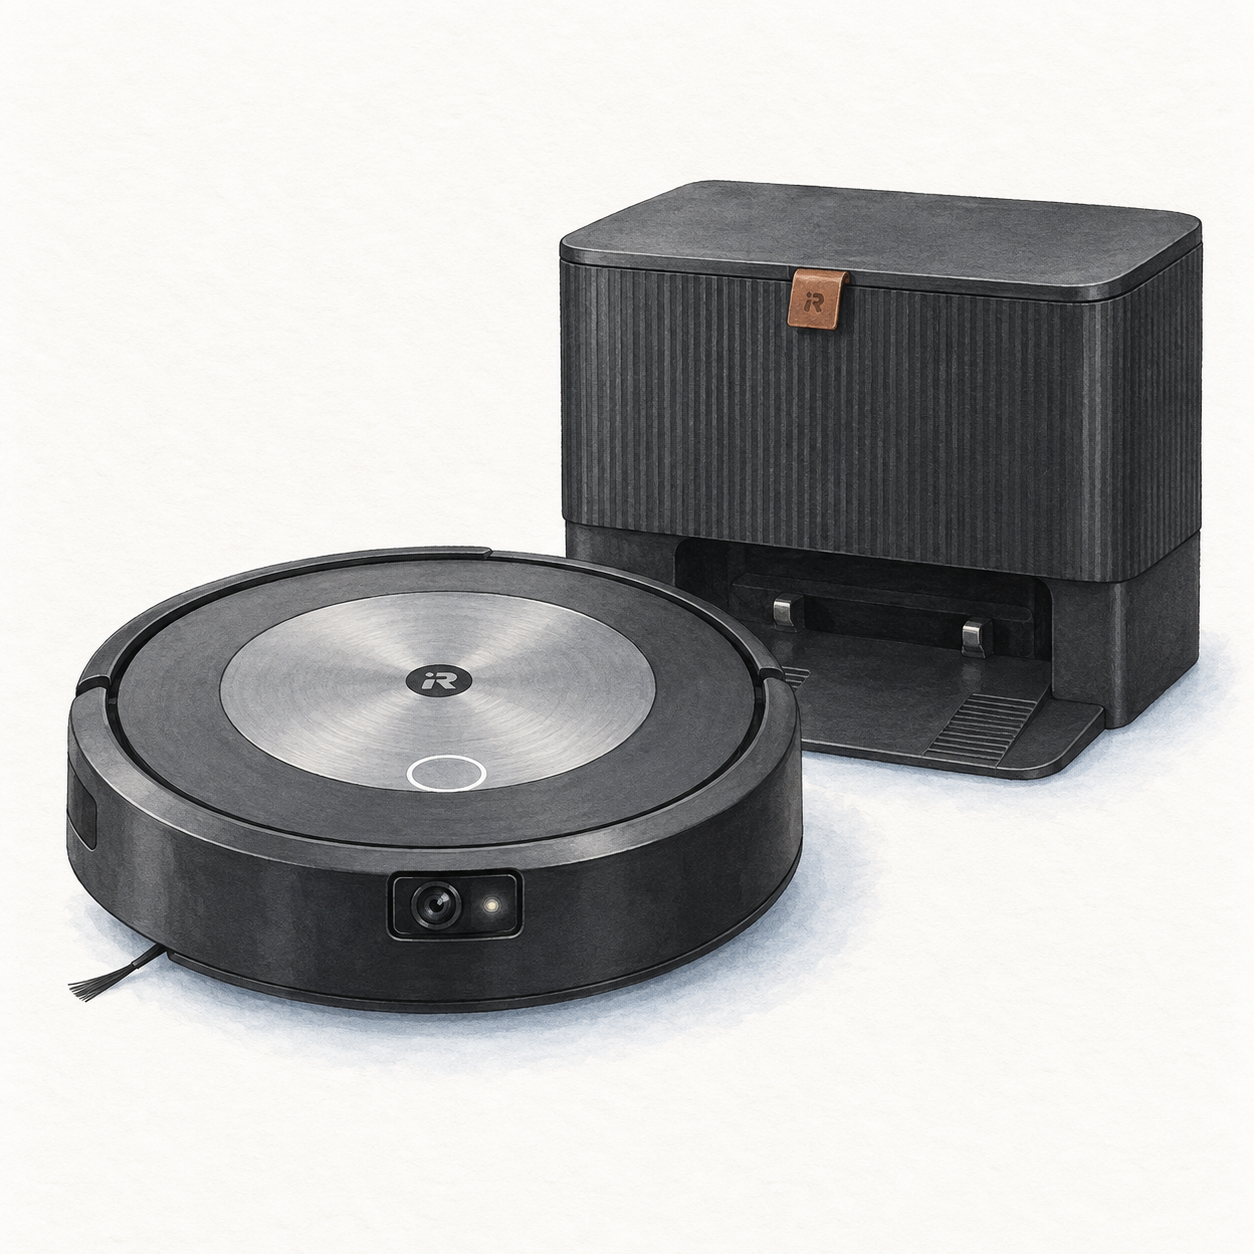
Illustration of the original flat-top Roomba j7+ vacuum with a front camera and black Clean Base; not a product photo, no mop, cables and spare accessories omitted

Roomba j7+ and Clean Base illustration — not a product photo

iRobot

iRobot Roomba j7+

Robot vacuum with Clean Base setup

Mounting or guided setup

Allow clearance around the original j7+ Clean Base and keep it at least 4 ft from stairs. Remove floor clutter even with obstacle avoidance. Confirm the original j7+ bundle, not a Combo model.

Setup checks & conditions

The guide covers original j7+, not Roomba Combo. Confirm the seller's bundle and regional power hardware.

  • For the original j7+ Clean Base, allow 1.5 ft / 0.5 m on both sides, 4 ft / 1.2 m in front and 1 ft / 0.3 m above. Keep the base at least 4 ft / 1.2 m from stairs, out of direct sunlight and within good Wi-Fi coverage.
  • Place the robot on the powered base to activate its battery. iRobot recommends a 3-hour charge before the first cleaning job; remove excess floor clutter even with obstacle avoidance.
  • Follow the iRobot Home app for Wi-Fi setup, maps and schedules. These instructions cover the original j7+ with Clean Base, not a Roomba Combo model; confirm the exact bundle before buying.
All setup checks & sources
Air Purifier
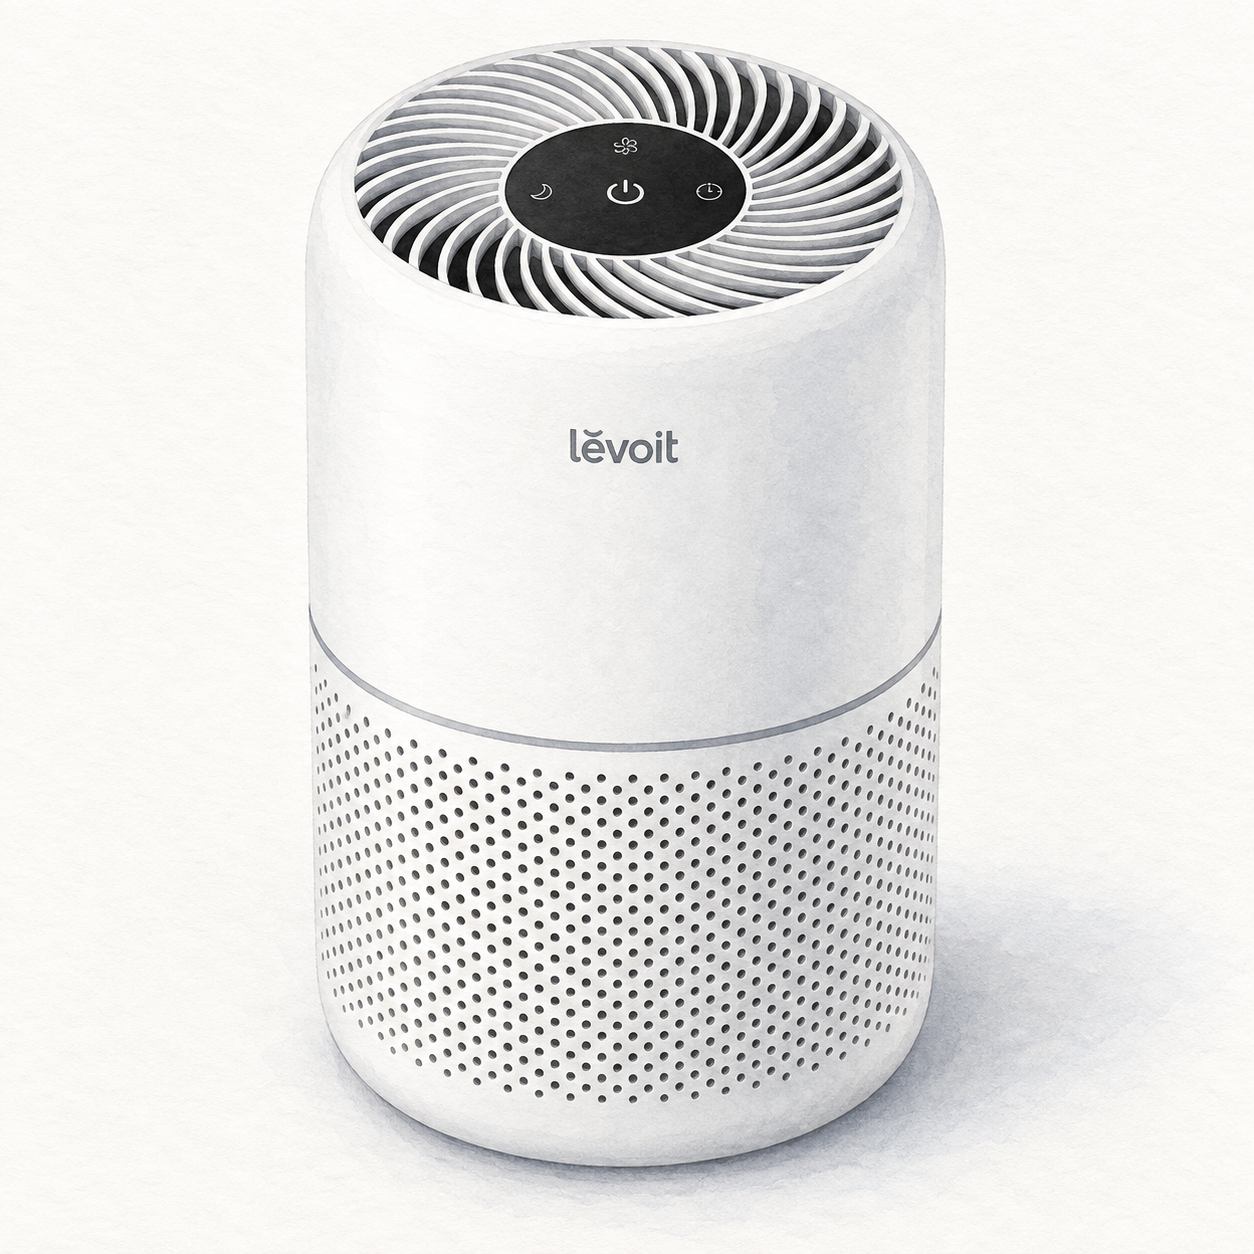
Illustration of the white cylindrical Levoit Core 300S with perforated lower intake and spiral top outlet; not a product photo, controls simplified, cord and internal filter out of view

Levoit Core 300S illustration — not a photo; controls simplified

Levoit

Levoit Core 300S Smart Air Purifier

Air purifier with on-device and app controls

Power and app setup

Plan an indoor location with 15 inches of clearance on every side, away from water and heat. The US unit uses 120 V, 60 Hz. Remove filter packaging before use and unplug for filter servicing.

Setup checks & conditions

The Core 300S manual documents filter preparation and VeSync setup, not a clinical outcome or whole-home coverage guarantee.

  • Before first use, remove the filter's plastic packaging, refit the filter handle-up and lock the cover. Keep the unit unplugged when servicing the filter; follow the Core 300S manual.
  • Use indoors on a flat, stable surface with at least 15 inches / 38 cm of clearance on all sides and unobstructed airflow. The documented US unit uses 120 V, 60 Hz; keep it away from water and heat.
  • The on-device controls operate the purifier without app setup. Additional smart functions use the VeSync app and an account; follow its pairing instructions for your exact unit.
All setup checks & sources
Garage Door Opener
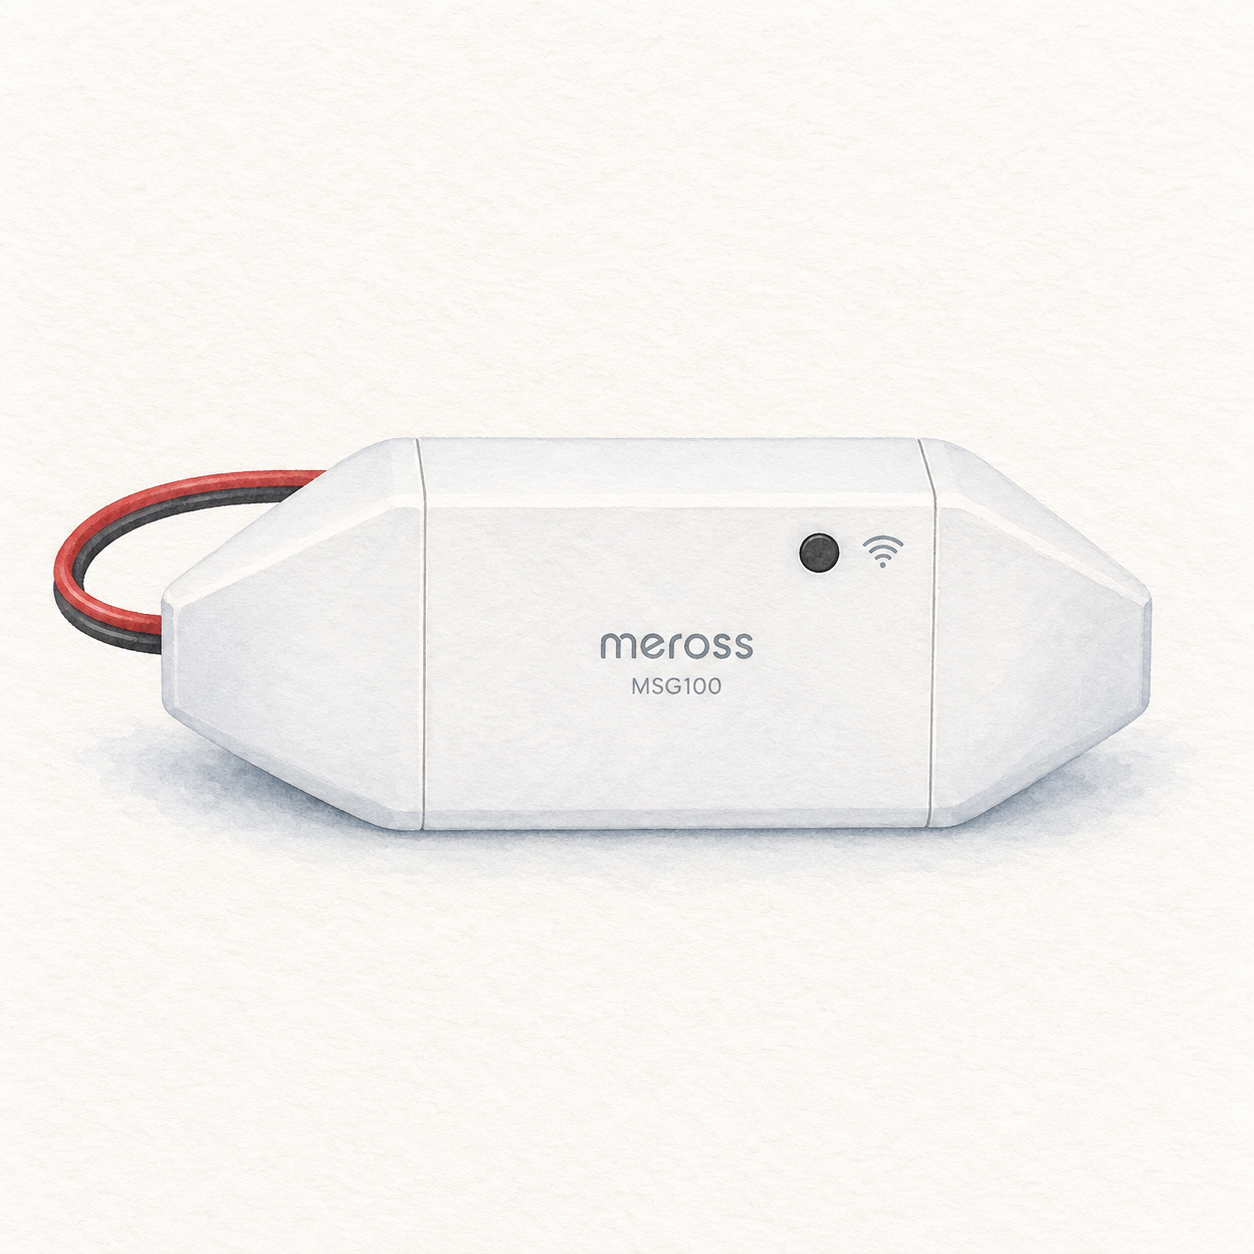
Illustration of the white tapered Meross MSG100 add-on controller with paired signal wire; not a product photo or wiring diagram, markings simplified, door sensor, power supply and mounting accessories omitted

Meross MSG100 illustration — controller only, not a photo or full kit

Meross

Meross Smart Garage Door Opener

Add-on controller for an existing garage-door motor

Wiring or detailed installation checks

Check your motor's exact model and required accessories; MSG100 is an add-on, not a replacement motor. Do not bridge unidentified terminals: consult Meross or a qualified installer. Wired sensor installation is required, and this assessment does not establish safe unattended operation.

Setup checks & conditions

It is not a replacement motor. Confirm the exact motor and regional accessory requirements; unattended safety is not established.

  • This is an add-on controller for an existing garage-door motor, not a replacement motor. Check the motor's exact brand and model in Meross's compatibility checker before buying; some installations require an additional accessory. Do not assume every motor from a listed brand is compatible.
  • Installation includes control-terminal connections and mounting a wired door-position sensor. If you cannot identify the wall-button terminals confidently, do not attempt a terminal-bridging test; consult Meross support or a qualified installer. Check the motor's own safety instructions before installation.
  • Plan power and sensor-cable routing and check 2.4 GHz Wi-Fi coverage at the motor. The listing identifies MSG100 and advertises HomeKit, but FlowHome has not inspected the hardware suffix or supplied accessories. Confirm the exact regional kit and app instructions; this assessment does not establish safe unattended operation.
All setup checks & sources
Smart Lighting
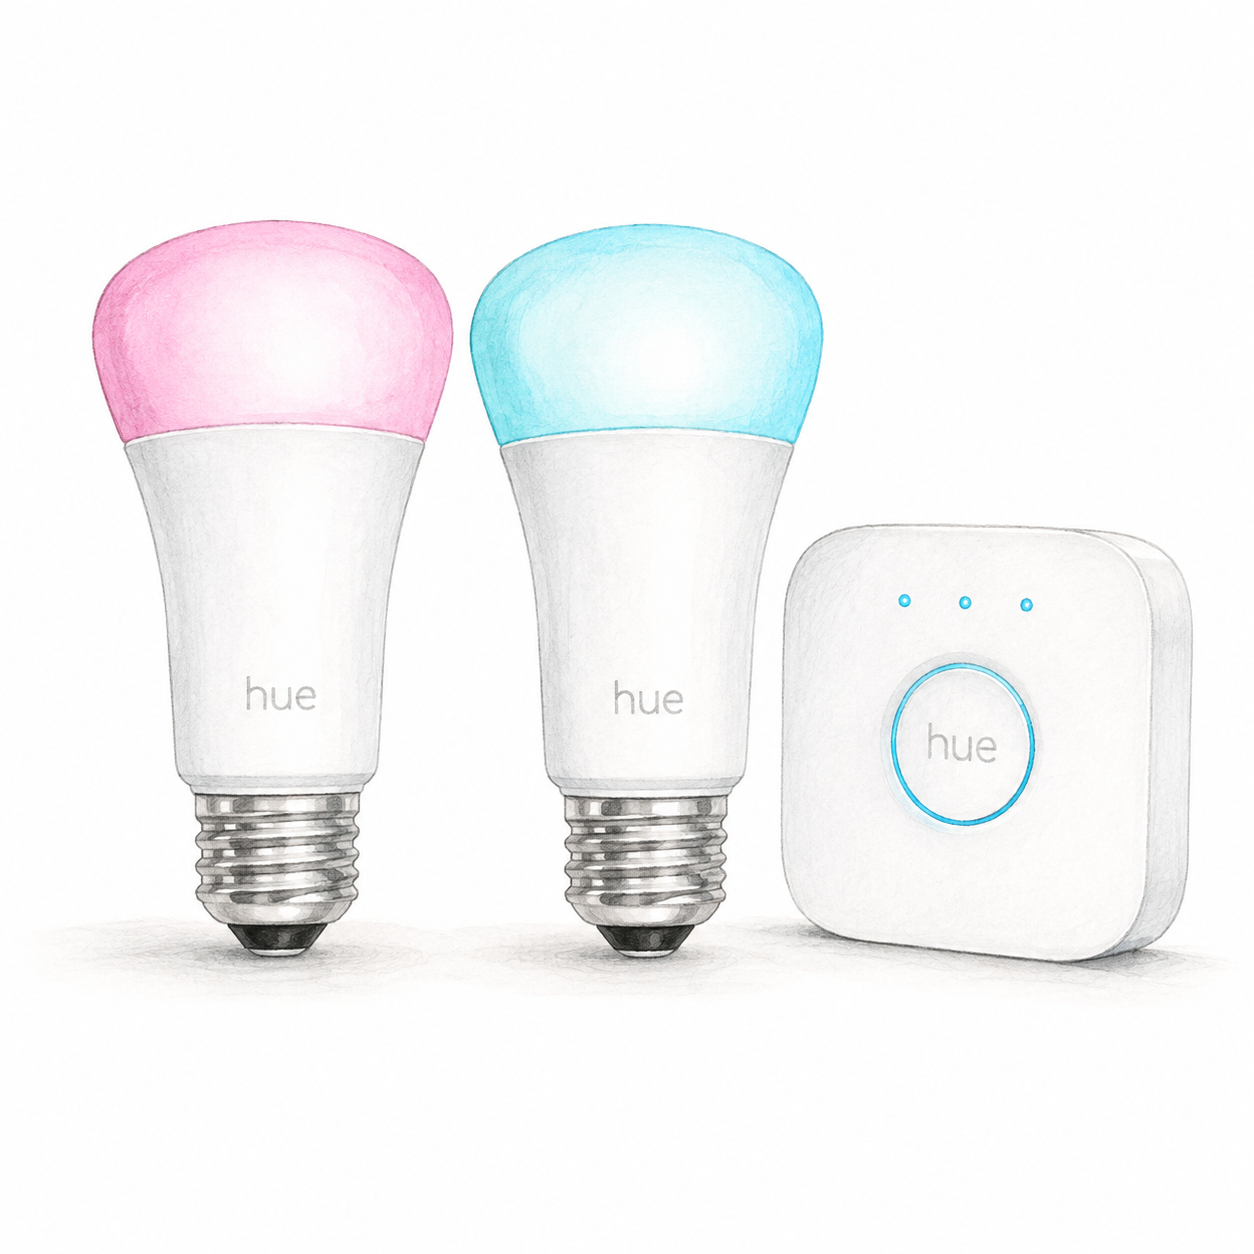
Illustration of two E26 color bulbs and a white square Hue Bridge from kit 562918; illustrative colors, not a product photo, cables and accessories omitted

Hue 562918 device illustration — not a photo; accessories omitted

Mounting or guided setup

Check suitable indoor E26 fixtures rated for these 110–130 V bulbs. The included Bridge needs power and a router Ethernet port.

Setup checks & conditions

First setup check

Check suitable indoor E26 fixtures rated for these 110–130 V bulbs. The included Bridge needs power and a router Ethernet port.

  • Confirm kit 562918 / UPC 046677562915 contains two E26 A19 color bulbs and a Hue Bridge. Check the existing fixtures against the bulb's 110-130 V and IP20 specifications before buying. This assessment covers replacement bulbs in suitable existing fixtures, not rewiring or outdoor installation.
  • Provide power for the Bridge and an available router Ethernet port. Connect the included Ethernet cable, install the Hue app and keep the phone on the same home network during setup. Follow the app to pair the Bridge and discover the powered bulbs.
  • The bulbs use Zigbee with the Bridge; the phone's Wi-Fi connection does not make these bulbs Wi-Fi devices. This profile does not cover Bridge Pro, migration of an existing system or native-Matter bulbs. Confirm the actual hardware, firmware and any assistant setup separately; no physical pairing test has been performed.
All setup checks & sources
Video Doorbell
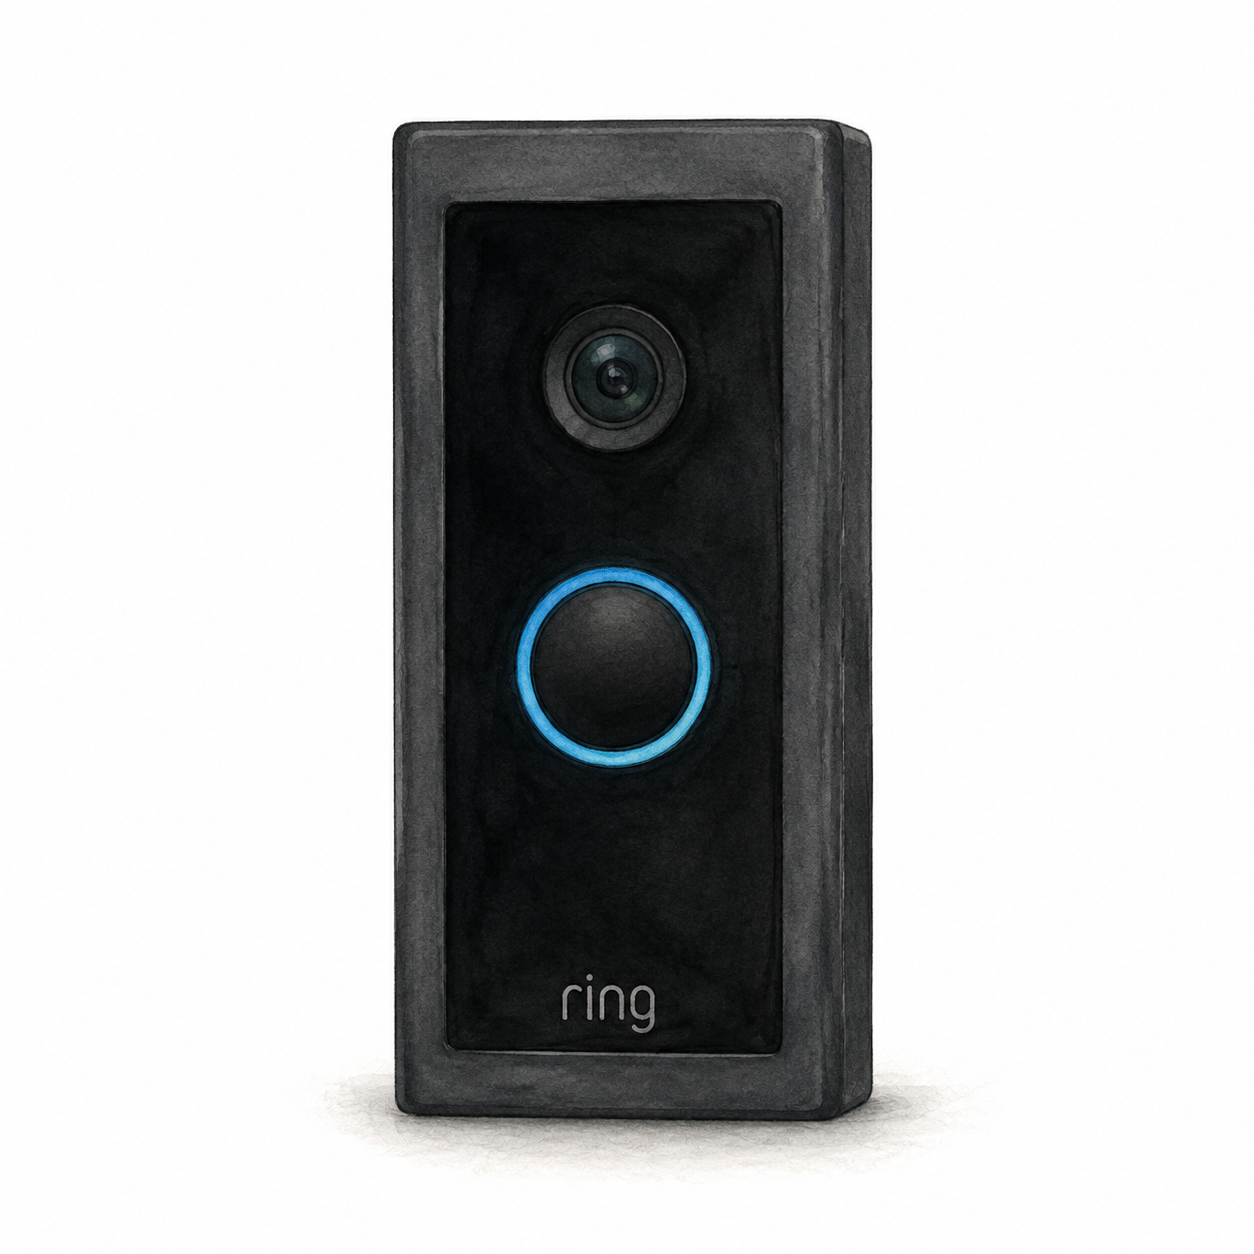
Illustration of the original black Ring Video Doorbell Wired with an upper camera and blue-ringed round button; not a product photo or full installation kit

Ring Video Doorbell Wired illustration — not a product photo

Ring

Ring Video Doorbell Wired

Original wired video doorbell

Wiring or detailed installation checks

Original Wired: verify the specified 10–24 VAC transformer or compatible Ring adapter, not arbitrary DC power. Hardwiring requires breaker isolation and disables the existing chime. Use a licensed electrician if inexperienced or unsure, and follow local requirements.

Setup checks & conditions

First setup check

Original Wired model: verify compatible power before buying. Hardwiring bypasses the existing chime; use a licensed electrician if inexperienced or unsure.

This is not a newer 2K or Pro model. The existing chime and power arrangement require separate checks.

  • Original Video Doorbell Wired: check the transformer and exact regional manual before buying. Ring's US hardwiring guidance specifies 10-24 VAC, 50/60 Hz, 8-40 VA. A compatible Ring Plug-In Adapter is an alternative sold separately; do not assume an arbitrary DC supply is suitable.
  • For hardwiring, disconnect power at the breaker before touching wires. Use a licensed electrician if inexperienced or unsure; local requirements may also require professional installation. With an existing in-home chime, the required jumper bypasses and disables that chime.
  • Plan the mounting surface and cable route, use the supplied mounting and security screws in their designated positions, and follow the Ring app setup. These checks apply to the original Wired model, not newer 2K or Pro models; this is not a step-by-step electrical installation guide.
All setup checks & sources
Robot Vacuum
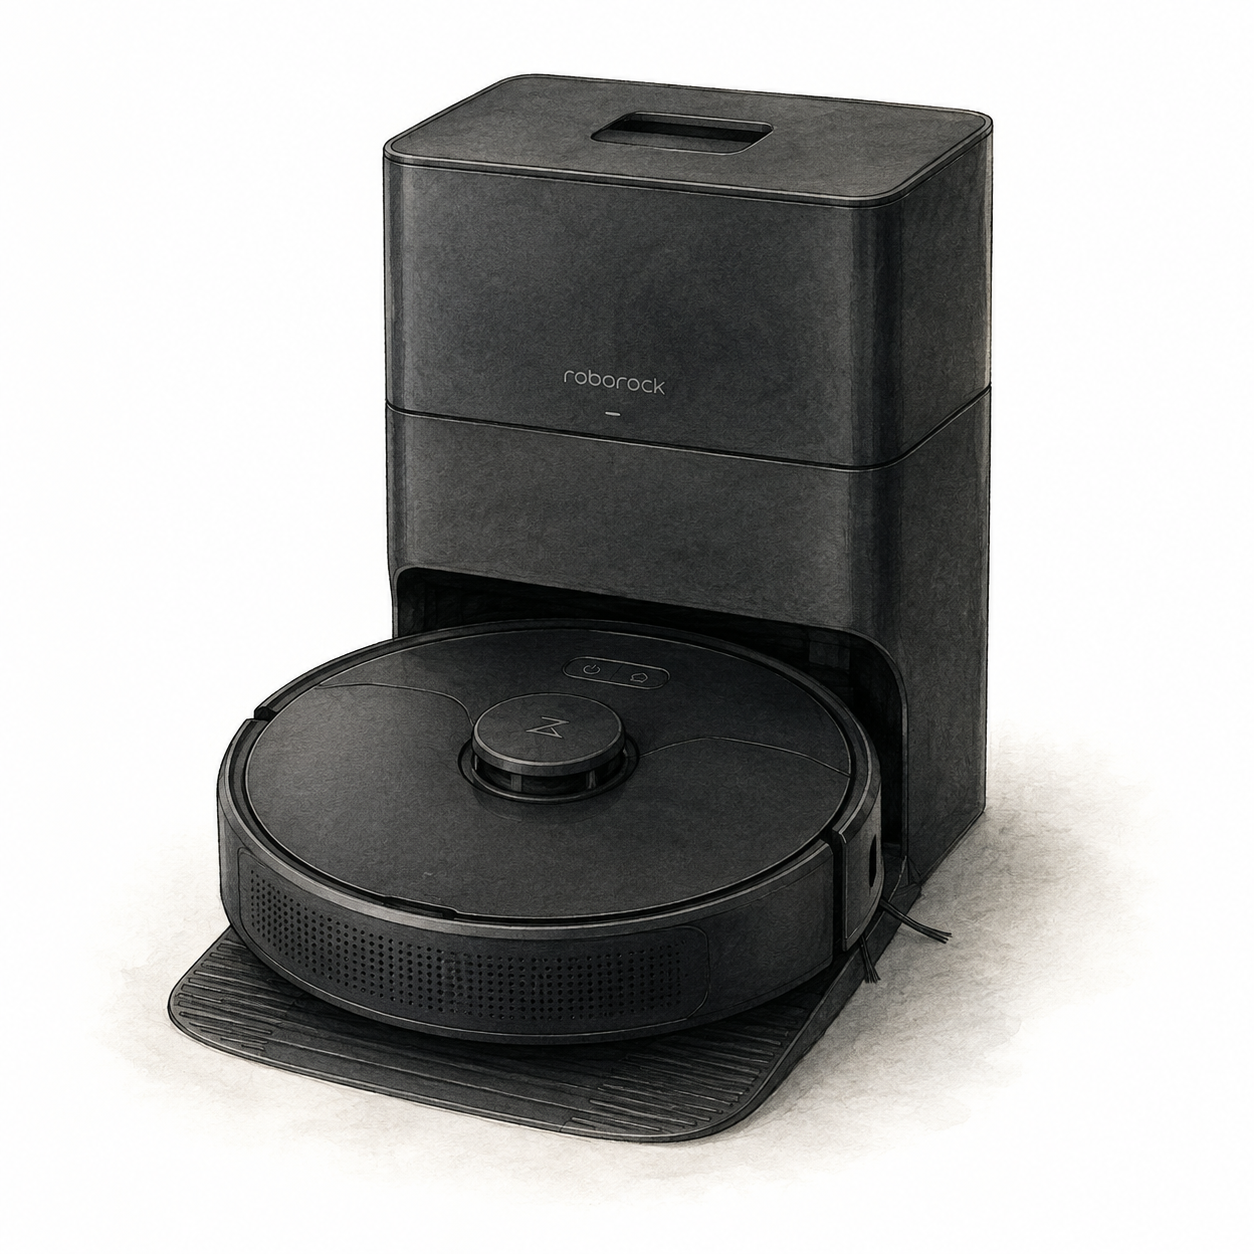
Illustration of the black Roborock Q5+ LiDAR robot vacuum with Auto-Empty Dock Pure; not a product photo, cables and spare accessories omitted

Roborock Q5+ and dock illustration — not a product photo

Mounting or guided setup

Allow room for the original Q5+ dock and assemble its base before connecting power. Supervise the first cleaning route; raised areas require a secure physical barrier. Mapping does not replace that barrier.

Setup checks & conditions

First setup check

Allow 0.5 m on each side of the dock, 1.5 m in front and 1 m above. Raised areas need a secure physical barrier, not just mapping.

  • Original Q5+ dock: attach the base with the six supplied screws before connecting power. Use a hard, level floor with at least 1.6 ft / 0.5 m clear on each side, 4.9 ft / 1.5 m in front and 3.3 ft / 1 m above.
  • Clear loose cables and fragile or unstable items, supervise the entire first cleaning route, and use a secure physical barrier in raised areas. Mapping is not a substitute for that barrier.
  • Charge on the dock and follow the Roborock or Mi Home app setup with 2.4 GHz Wi-Fi. These instructions cover the original Q5+, not Q5 Pro or other later variants.
All setup checks & sources
Smart Lock
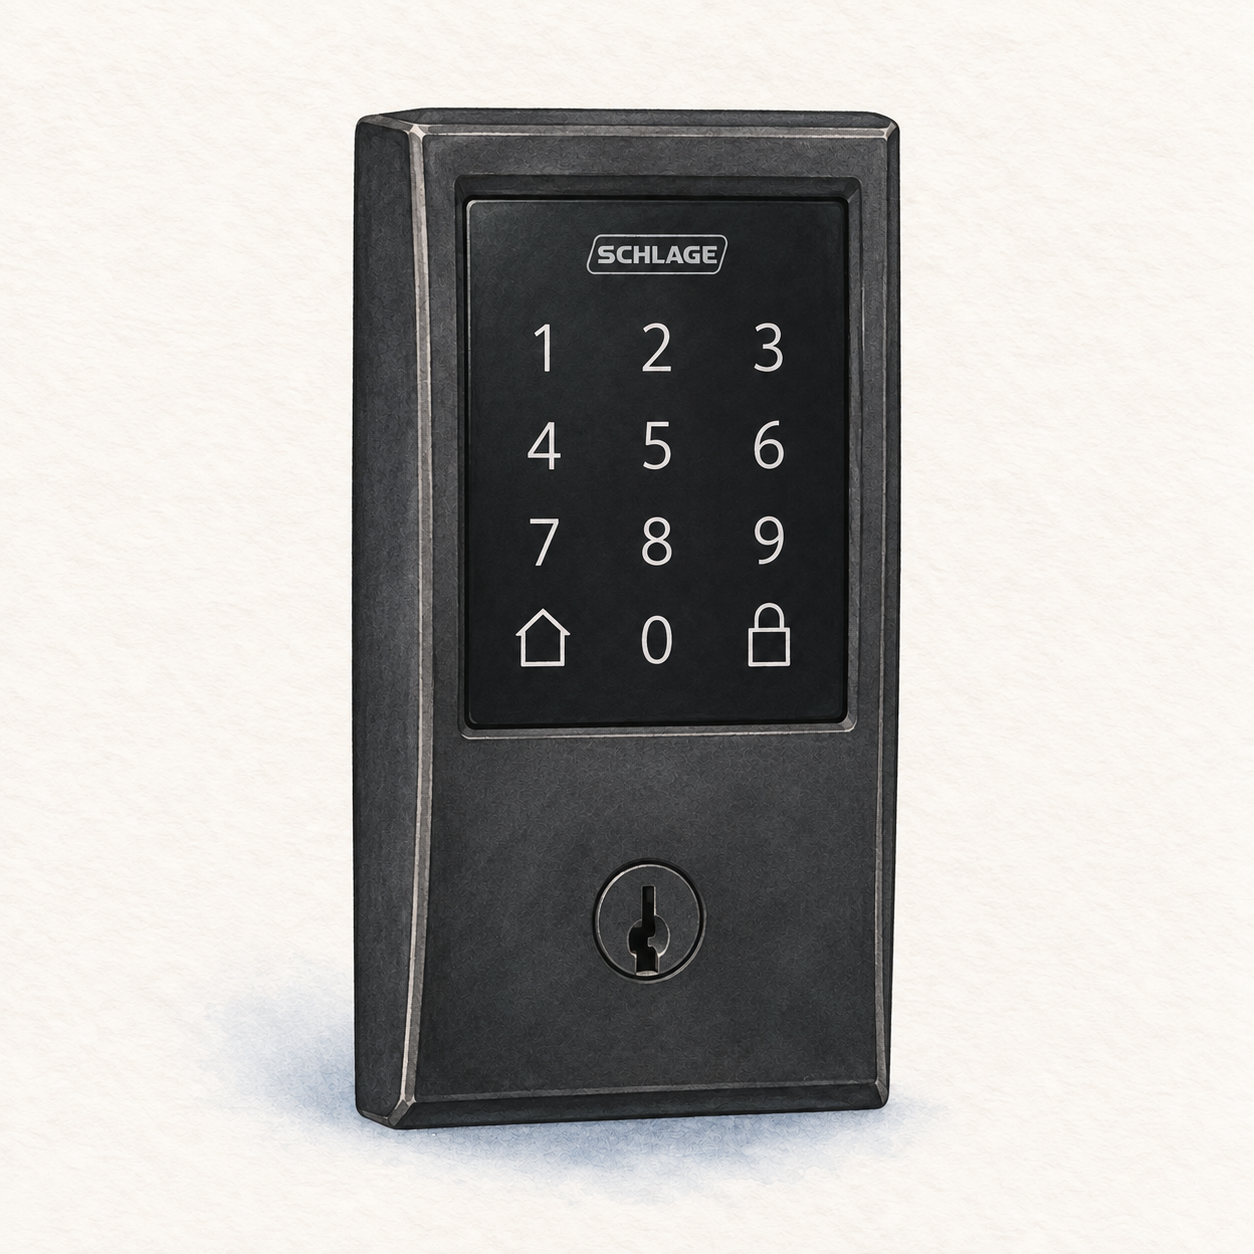
Illustration of the matte-black Schlage Encode BE489WB CEN 622 exterior with rectangular keypad and mechanical key cylinder; not a product photo, interior unit, bolt, batteries and installation hardware omitted

Schlage Encode Century illustration — exterior only, not a photo or full kit

Schlage

Schlage Encode Smart WiFi Deadbolt

Replacement deadbolt

Mounting or guided setup

Encode BE489 replaces the deadbolt rather than retaining it. Check door dimensions and bolt alignment; this assessment assumes a prepared, compatible door. Alterations need a separate assessment. Ask a locksmith if unsure, and confirm any thick-door kit.

Setup checks & conditions

This replaces the deadbolt rather than retaining the existing exterior lock. Door preparation remains a separate check.

  • Encode BE489 replaces the deadbolt; it does not retain the existing exterior lock like a retrofit accessory. Standard fit is a 1-3/8 to 1-3/4 inch thick door with a 2-3/8 or 2-3/4 inch backset (door edge to hole center). Measure before buying.
  • This guided-setup assessment assumes a compatible, already-prepared door. Check the manufacturer's door-preparation guide and bolt alignment; door or frame alterations need a separate assessment. Ask a locksmith if unsure, and confirm any thick-door kit with Schlage rather than assuming it is included.
  • The lock uses four AA alkaline batteries, not household hardwiring. Plan 2.4 GHz Wi-Fi coverage and Schlage Home app setup. These requirements concern Encode BE489, not Encode Plus; seller package contents and actual door fit have not been physically checked.
All setup checks & sources
Smart Blinds
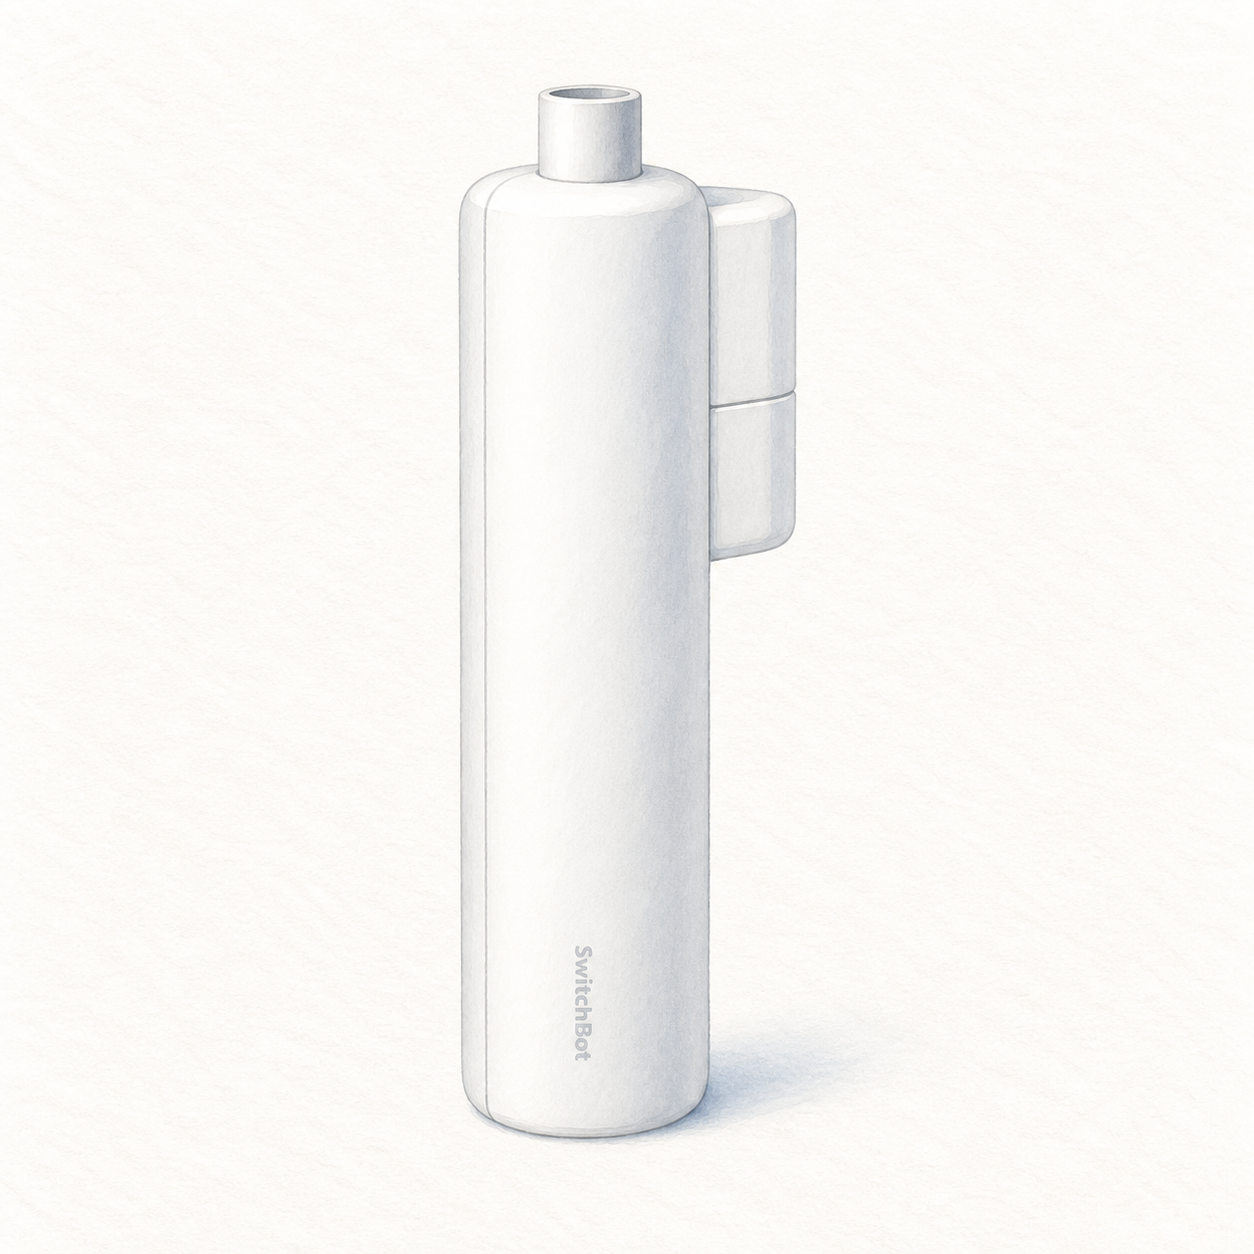
Illustration of the slim white SwitchBot Blind Tilt actuator with side coupling housing; not a product photo, blind wand, solar panel, hub and installation accessories omitted

SwitchBot Blind Tilt illustration — actuator only, not a photo or full kit

SwitchBot

SwitchBot Blind Tilt

Retrofit actuator for supported horizontal blind wands

Mounting or guided setup

Check horizontal blinds and the supported wand diameter; vertical blinds and roller shades are not supported. Remote control and linked assistants need a separate compatible hub. Solar charging depends on placement; confirm the exact accessories.

Setup checks & conditions

The documented fitting limits do not cover vertical blinds or roller shades; verify the existing blind before buying.

  • Check the existing blind before fitting the device: support specifies horizontal blinds with a wand diameter of 6.2-10.2 mm or 12 mm, not vertical blinds or roller shades. Follow the manufacturer's fitting and calibration guides for your hardware.
  • The unit has a rechargeable battery and USB-C power rated at 5 V, 1 A. Solar charging depends on the installation conditions; verify the exact seller package and accessories rather than assuming a bundle.
  • Use the SwitchBot app for nearby control. Remote control and linked assistants require a separate compatible hub; this is not a direct Wi-Fi device. See the compatibility notes for Matter bridge and controller conditions.
All setup checks & sources
Smart Hub
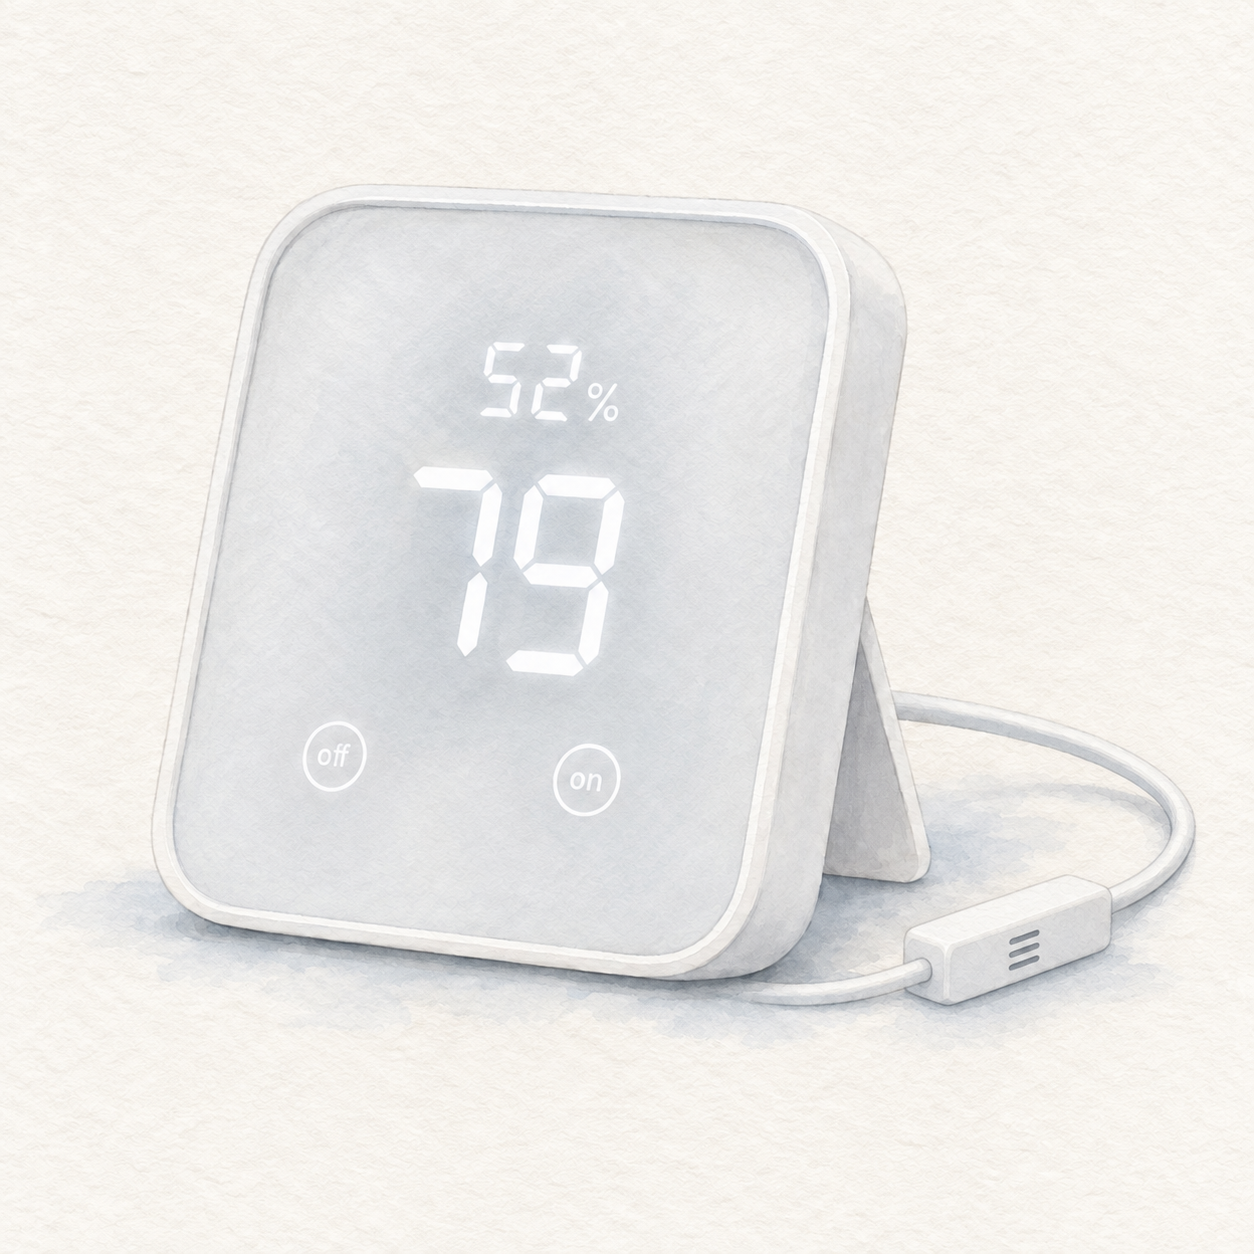
Illustration of the white SwitchBot Hub 2 with off-on touch buttons, rear stand and inline cable sensor; not a product photo, readings are illustrative and power adapter is omitted

SwitchBot Hub 2 illustration — not a photo; sample readings

SwitchBot

SwitchBot Hub 2

App-configured SwitchBot hub

Power and app setup

Power Hub 2 with a 5 V, 2 A supply and its sensor-equipped USB-C cable. The temperature and humidity sensors are in that cable; an ordinary replacement cable is not equivalent.

Setup checks & conditions

Initial pairing is documented; this does not establish a particular Matter action or accessory pairing.

  • Power Hub 2 with a 5 V, 2 A supply and its sensor-equipped USB-C cable. The temperature and humidity sensors are in that cable; an ordinary replacement cable is not equivalent.
  • Complete pairing in the SwitchBot app using a 2.4 GHz Wi-Fi network. Follow the current app instructions for your installed firmware.
  • Keep the cable sensor's air vent clear and away from heat sources that could affect its readings. Check the exact package for the correct cable and US power adapter.
All setup checks & sources
Smart Lighting
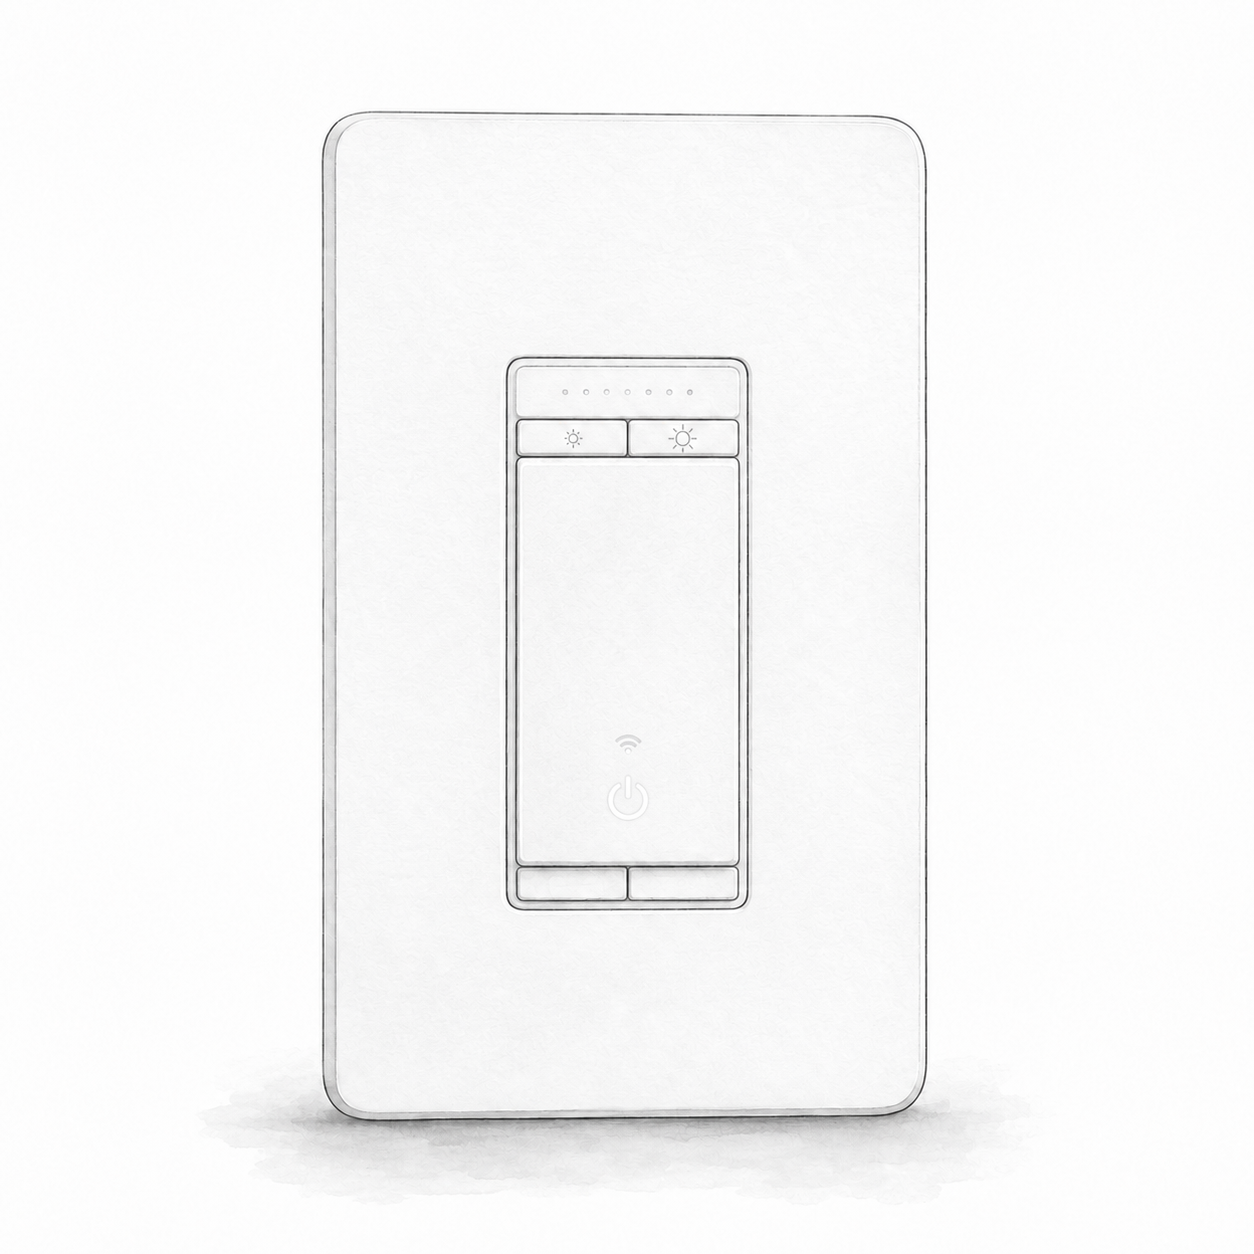
Illustration of one white Kasa HS220 dimmer with two upper brightness buttons, a main paddle and wall plate; not a product photo, wiring and installation accessories omitted

Kasa HS220 illustration — not a product photo or full kit

TP-Link Kasa

TP-Link Kasa Smart Dimmer Switch HS220

In-wall dimmer

Wiring or detailed installation checks

An in-wall dimmer, not a plug-in device: installation requires electrical wiring and a neutral wire. Check the bulb dimming type and manufacturer load limits before buying.

Setup checks & conditions

Electrical wiring, neutral and compatible dimming loads must be checked; not a plug-in controller.

  • This in-wall dimmer requires electrical wiring and a neutral wire; it is not a plug-in device.
  • Check the bulb's dimming type and the manufacturer's load limits before installation.
All setup checks & sources
Smart Lighting
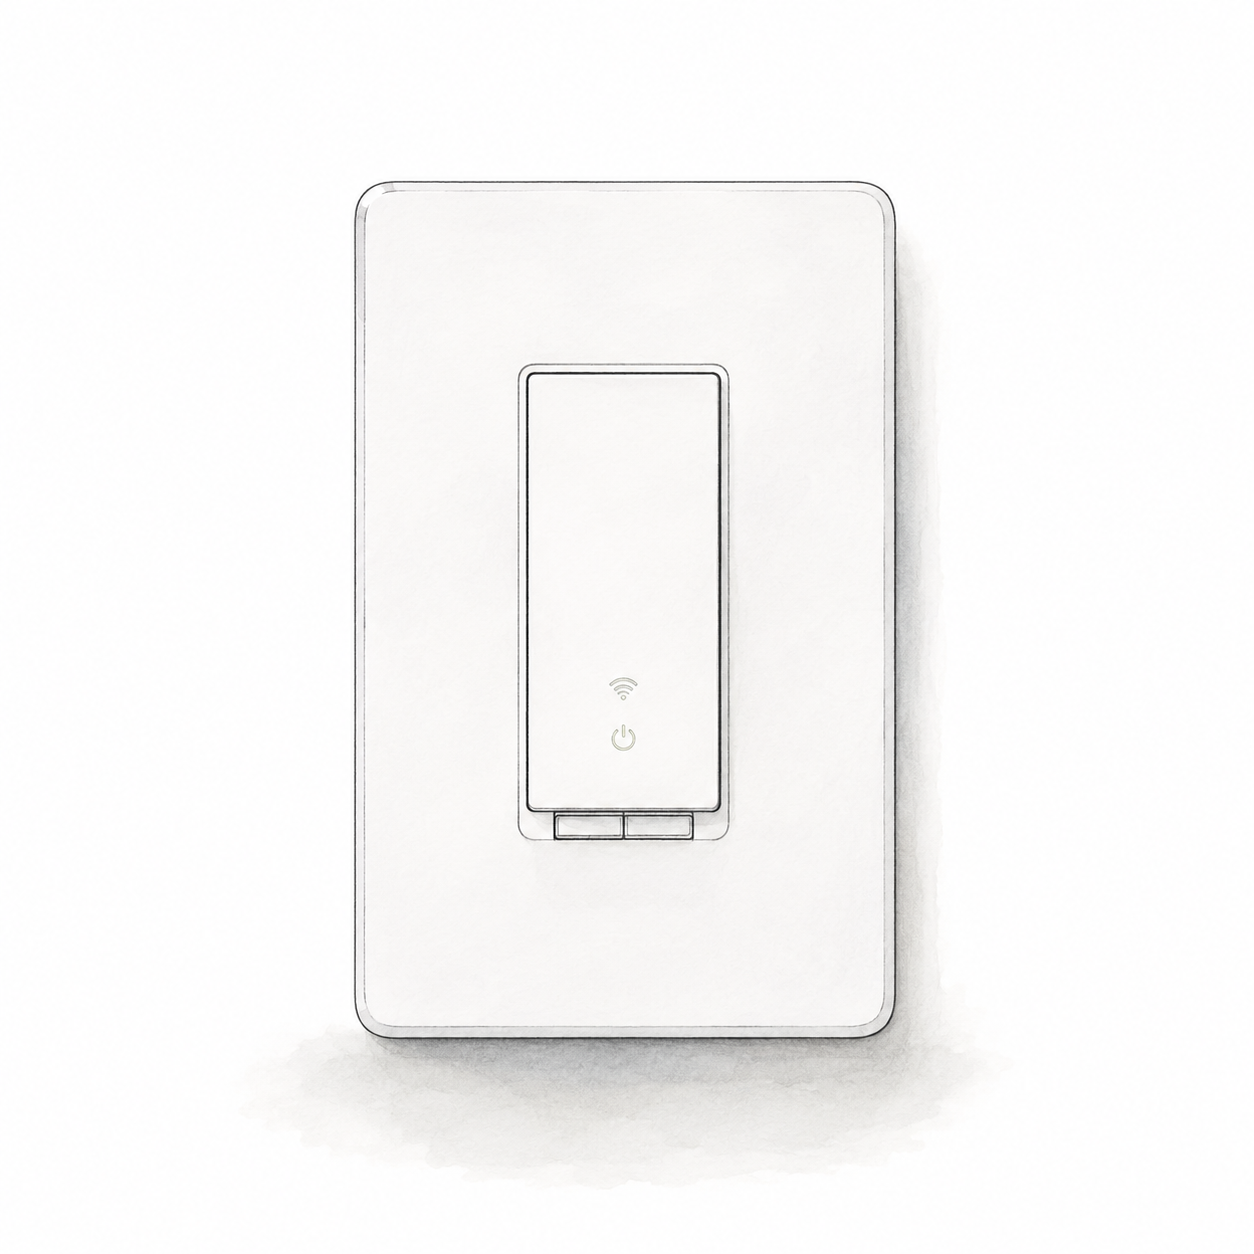
Illustration of one white Kasa HS200 on-off light switch with a single paddle and wall plate; not a product photo, wiring and installation accessories omitted

Kasa HS200 illustration — not a product photo or full kit

TP-Link Kasa

TP-Link Kasa Smart Light Switch HS200

In-wall light switch

Wiring or detailed installation checks

An in-wall switch, not a plug-in device: installation requires electrical wiring and a neutral wire. Check manufacturer wiring and load requirements with a qualified installer if needed.

Setup checks & conditions

Electrical wiring and a neutral are required; not a plug-in device.

  • This in-wall switch requires electrical wiring and a neutral wire; it is not a plug-in device.
  • Check the manufacturer's wiring and load requirements with a qualified installer if needed.
All setup checks & sources
Smart Plug
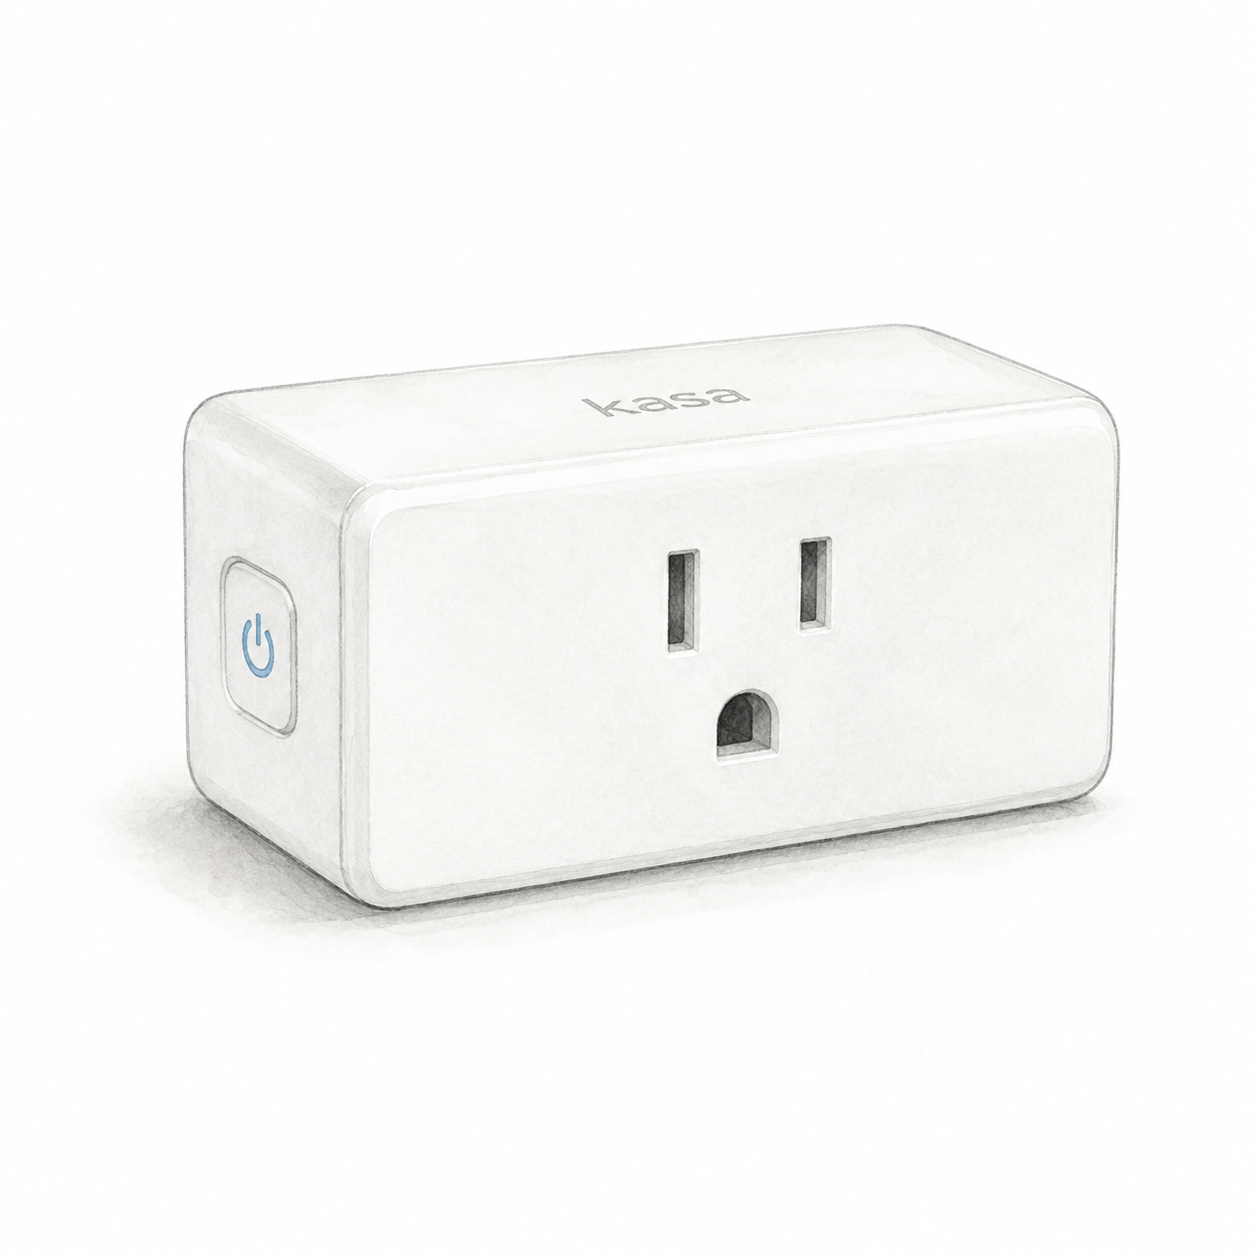
Illustration of one white rectangular Kasa EP10 US smart plug with a grounded front outlet and side button; not a product photo or the complete EP10P2 two-pack

Kasa EP10 illustration — one unit, not a product photo

Power and app setup

EP10 US needs an indoor 100–120 V AC outlet, away from water, humidity and heat; do not stack adapters. Check appliance-specific load limits: the 15 A / 1800 W general/resistive rating is not a universal appliance limit.

Setup checks & conditions

First setup check

Use a dry indoor outlet and 2.4 GHz Wi-Fi. Check appliance-specific load limits; do not stack plug adapters.

  • For the documented EP10 US, use an accessible indoor outlet, away from water, humidity and heat. Do not stack plug adapters. Check the hardware label against the regional manual; the retail bundle's revision and firmware are not verified.
  • Use 2.4 GHz Wi-Fi and the Kasa Smart app with a TP-Link ID for the documented setup path. A separate hub is not required for that path; follow the app's model-selection instructions.
  • The EP10 US datasheet specifies 100-120 V AC, up to 15 A and 1800 W for general/resistive loads. Those are not universal appliance limits: check the manual's load-specific restrictions and the appliance instructions before connecting it.
All setup checks & sources
Security Camera
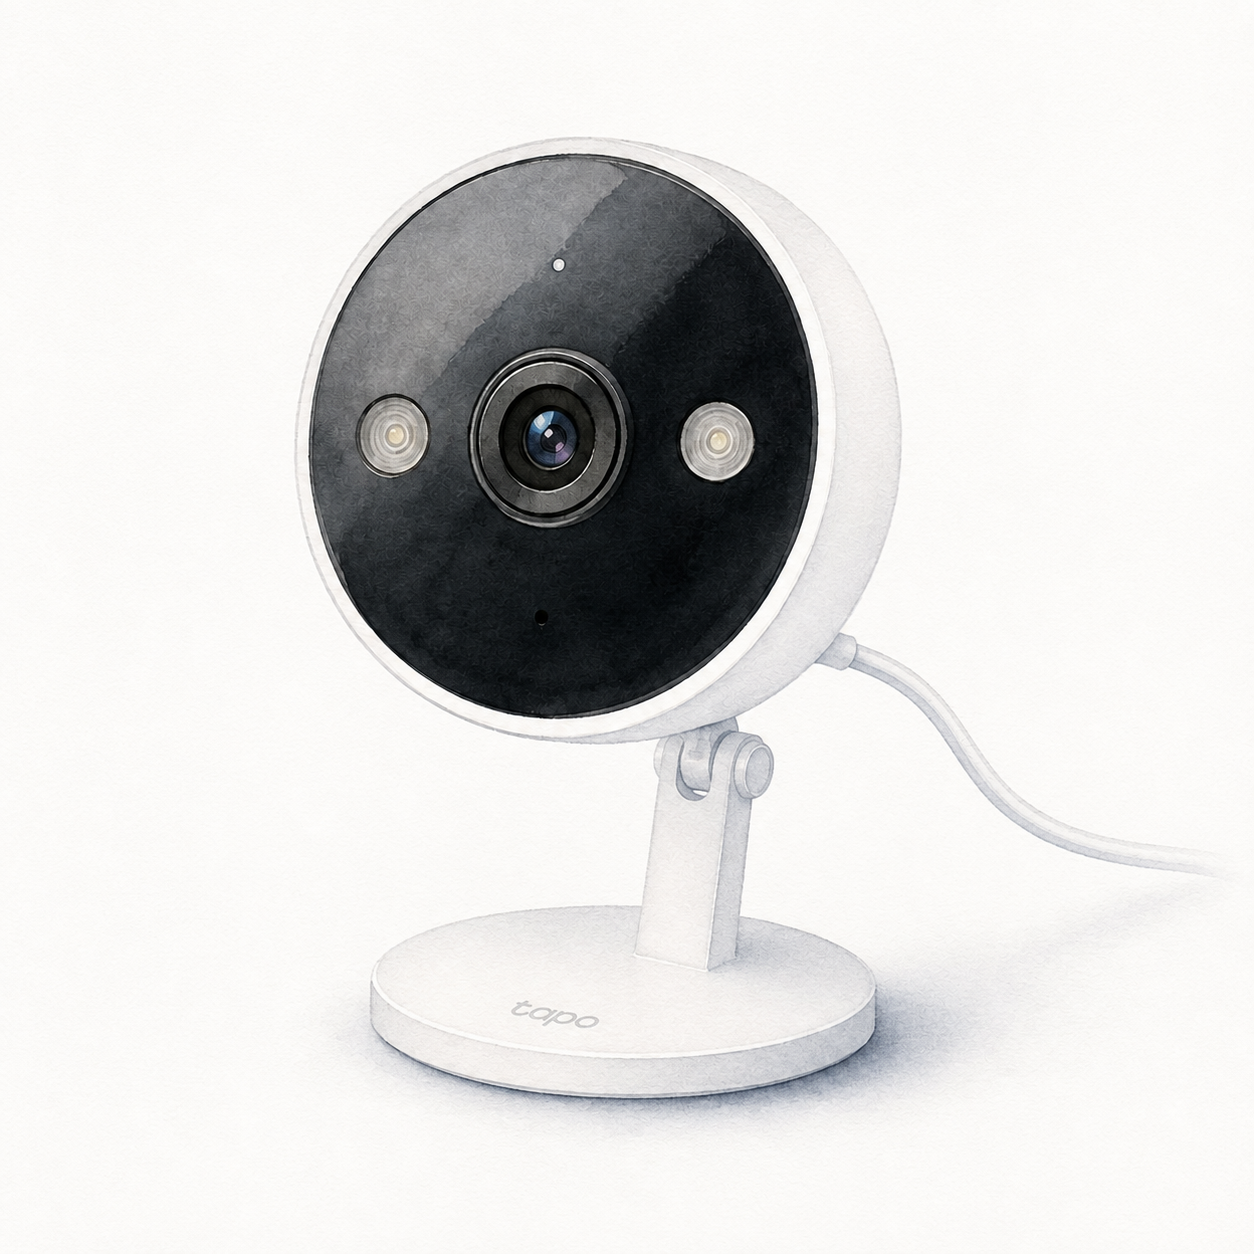
Illustration of the white Tapo C120 with a round black face, two lateral spotlights and a round magnetic base; not a product photo, power adapter and installation accessories omitted

Tapo C120 illustration — not a product photo or full kit

TP-Link Tapo

TP-Link Tapo C120 Security Camera

Externally powered security camera

Mounting or guided setup

This is not a battery camera: plan cable routing and use the supplied power hardware. The US guide requires the adapter to stay indoors even when the camera is outdoors. Setup uses Tapo and 2.4 GHz Wi-Fi.

Setup checks & conditions

The C120 setup is not battery-powered; outdoor placement does not make the power adapter outdoor-rated.

  • Set up with the Tapo app and 2.4 GHz Wi-Fi, using the manufacturer-supplied power adapter and cable. This camera is not battery-powered.
  • Plan the camera position and power-cable route. A table or shelf needs no wall mounting; magnetic, adhesive and screw mounting are other options. Follow the manual for your hardware version.
  • The linked US setup guide specifies indoor use for the power adapter, even when the camera is outdoors. Check the exact installation instructions before choosing its location.
  • For local recording, the guide calls for a separate microSD card initialized in the app; Tapo Care cloud storage is a subscription service.
All setup checks & sources
Smart Lighting
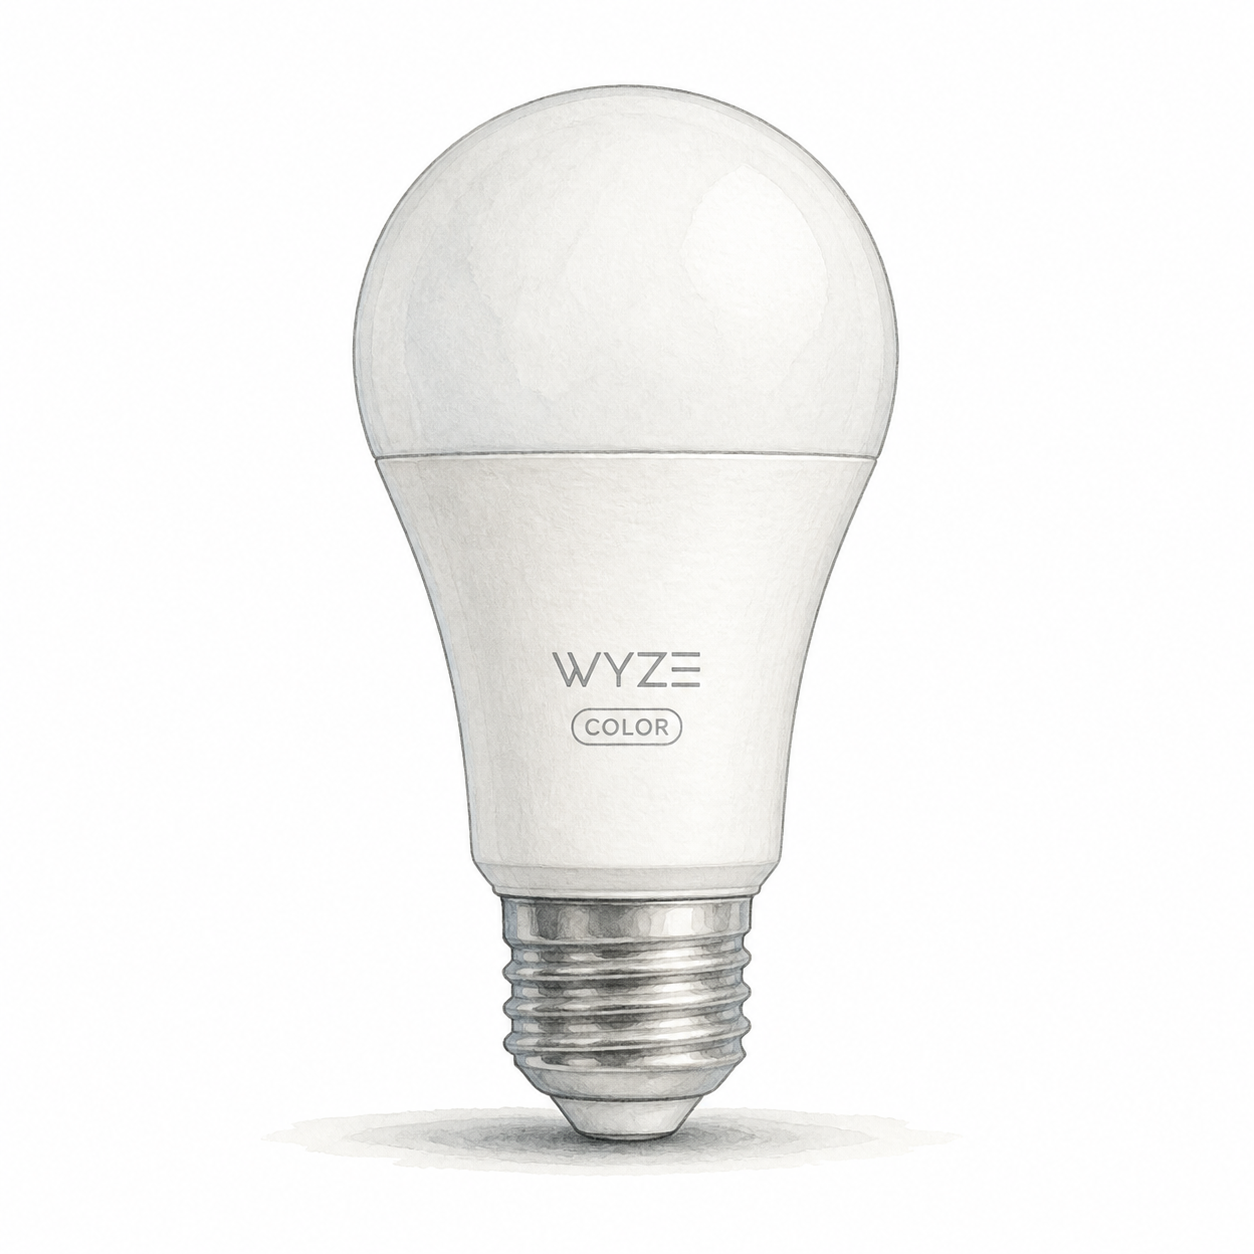
Illustration of one unlit Wyze Bulb Color A19 bulb with a white diffuser and E26 screw base; not a product photo or the complete seller multipack

Wyze Bulb Color illustration — one unit, not a photo or full pack

Wyze

Wyze Bulb Color

E26 replacement smart bulb

Power and app setup

Needs an E26 fixture and 120 V, 60 Hz supply; turn power off before fitting. Do not use external dimmers, enclosed or poorly ventilated fixtures, emergency lighting or direct water exposure. App dimming does not make a wall dimmer compatible.

Setup checks & conditions

The WLPA19C guide has fixture restrictions; app dimming does not imply external-dimmer compatibility.

  • The documented WLPA19C uses an E26 base and 120 V, 60 Hz supply. Turn power off before fitting or removing the bulb and follow the instructions for your fixture.
  • Do not use an external dimmer, a fully enclosed or poorly ventilated fixture, emergency lighting, or a location exposed directly to water. App dimming does not establish compatibility with a wall or lamp dimmer.
  • Smart setup uses a Wyze account, the Wyze app and 2.4 GHz Wi-Fi. Follow the app's Bluetooth and location permission prompts during pairing.
All setup checks & sources
Smart Lock
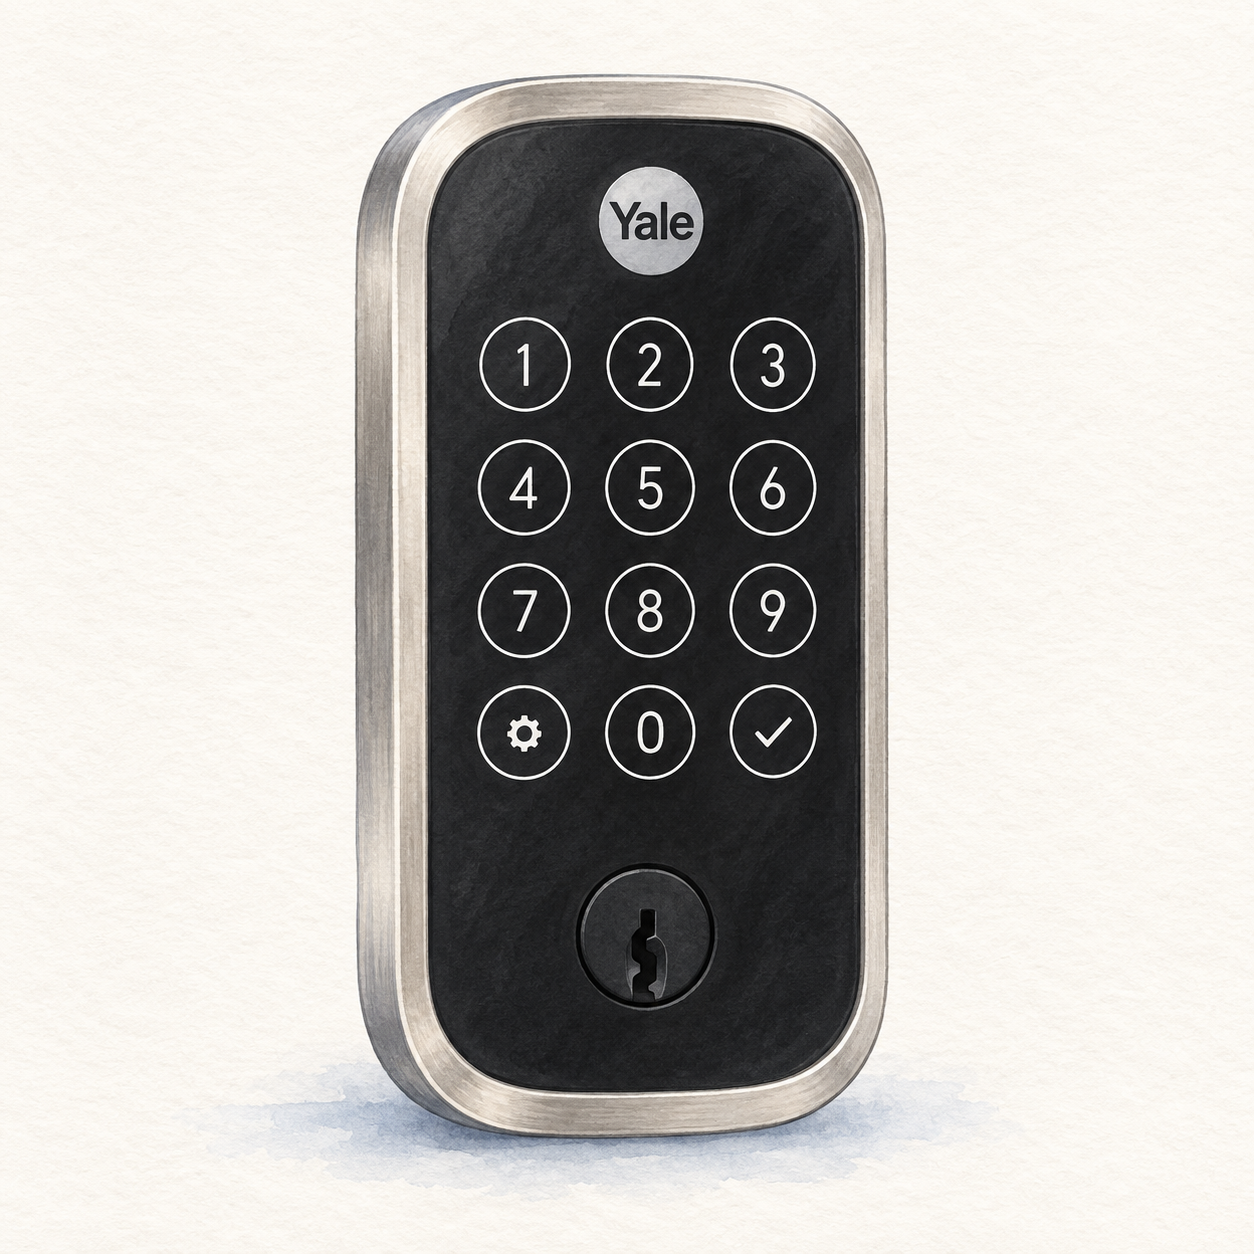
Illustration of the satin-nickel Yale Assure Lock 2 YRD420-WF1-619 keyed exterior with circular touchscreen digits; not a product photo, no fingerprint reader, interior unit, DoorSense and installation accessories omitted

Yale Assure Lock 2 illustration — keyed exterior, not a photo or full kit

Yale

Yale Assure Lock 2 Wi-Fi

Replacement keyed deadbolt with Wi-Fi module

Mounting or guided setup

Requires a compatible prepared door and replaces the deadbolt. Flush DoorSense mounting needs drilling. Use the correct Wi-Fi module and remove batteries before changing it; verify door fit and the exact keyed YRD420 kit.

Setup checks & conditions

The YRD410/YRD420 guide covers lock replacement and module setup. It does not inspect the user's door or certify other Yale variants.

  • This keyed YRD420 replaces the deadbolt, rather than retaining the existing exterior lock. Yale specifies 1-3/8 to 2-1/4 inch door thickness, 2-3/8 or 2-3/4 inch backset, and a 2-1/8 or 1-1/2 inch face bore. Verify the door and required adapter before buying.
  • The guided-setup assessment assumes a prepared, compatible door and surface-mounted DoorSense. Flush mounting the sensor requires drilling; door or frame alterations need a separate assessment. Confirm smooth bolt movement and follow the manual's mounting checks.
  • Use four AA batteries and the correct Wi-Fi module; remove batteries before inserting or removing a Yale Smart Module. Follow the Yale app setup, calibrate DoorSense and check open/closed readings. This is the standard keyed Assure Lock 2, not Touch, Plus or a key-free variant; the seller's hardware has not been inspected.
All setup checks & sources

Start with a focused path

Robot-vacuum research paths

Compare mapped, app-controlled robot vacuums from the guide, then check each profile and the direct comparison before browsing the wider catalog.

Browse 14 category guides